Sage x Clare’s new Soleil Collection has an international flavour, combining the romanticism of the Mediterranean with a mystique inspired by some of the world’s most exotic locations.
Photography Armelle Habib / Styling Julia Green and Noël Coughlan for Greenhouse Interiors, assisted by Sarah Walsh, Annie Bell, Jemma Bell and Alison Lewis.


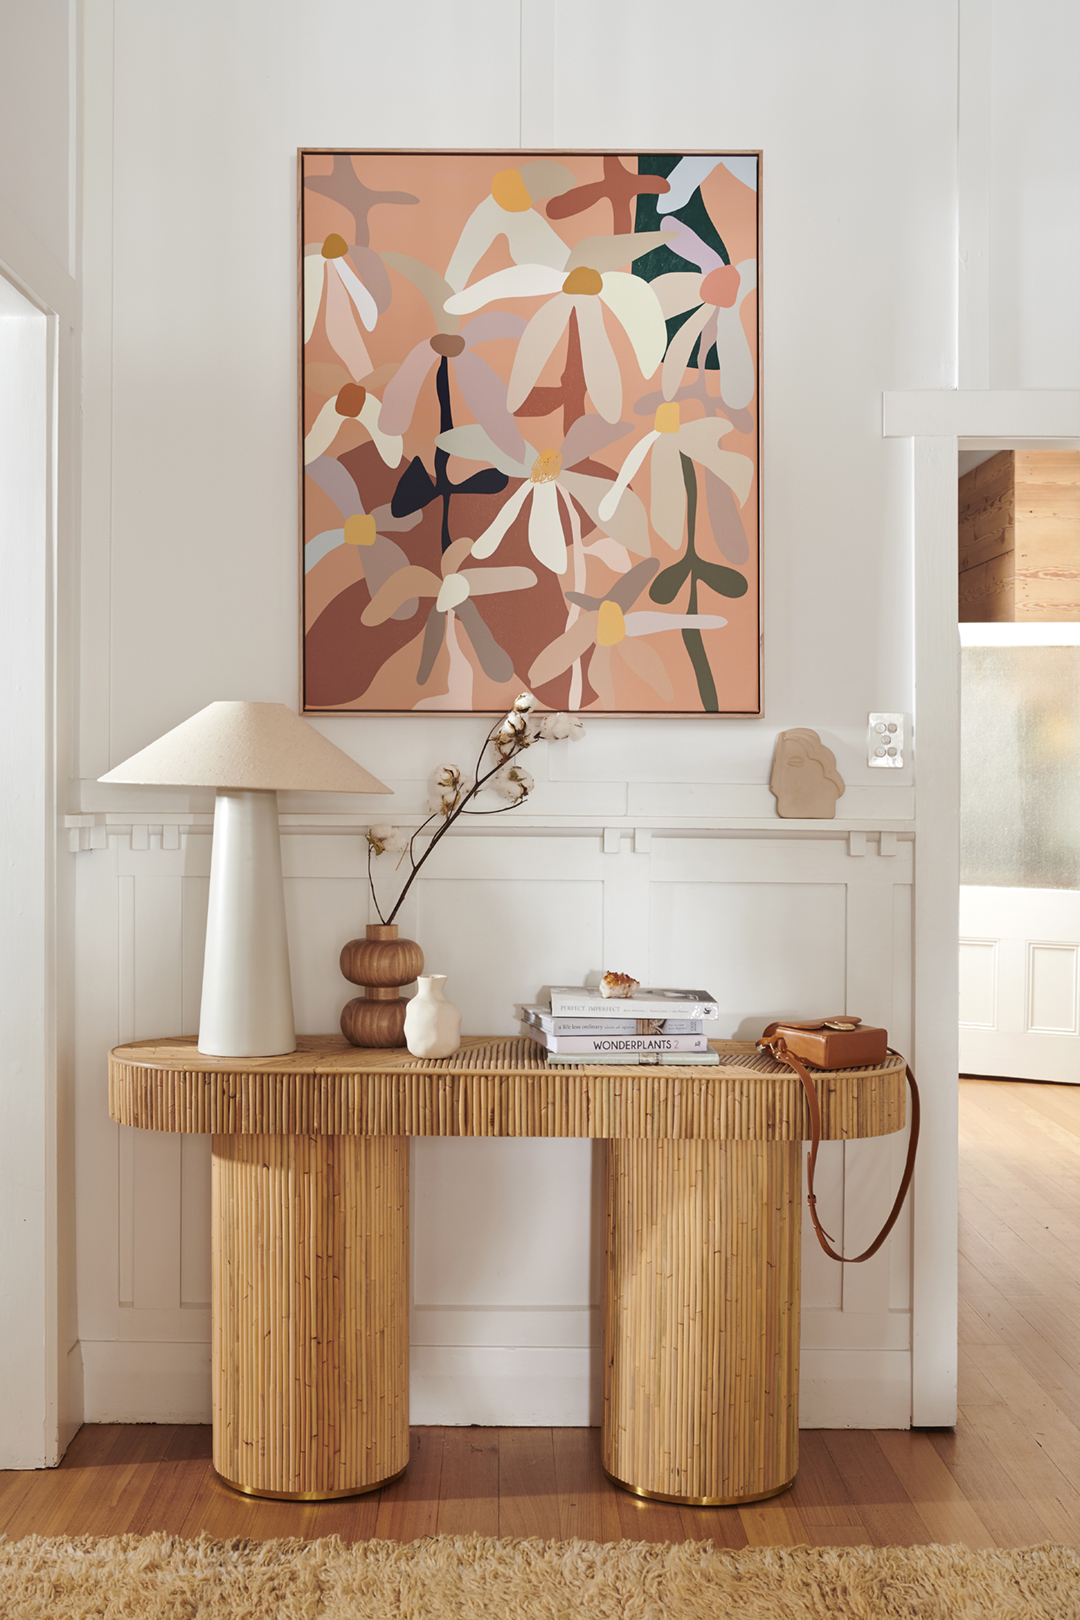
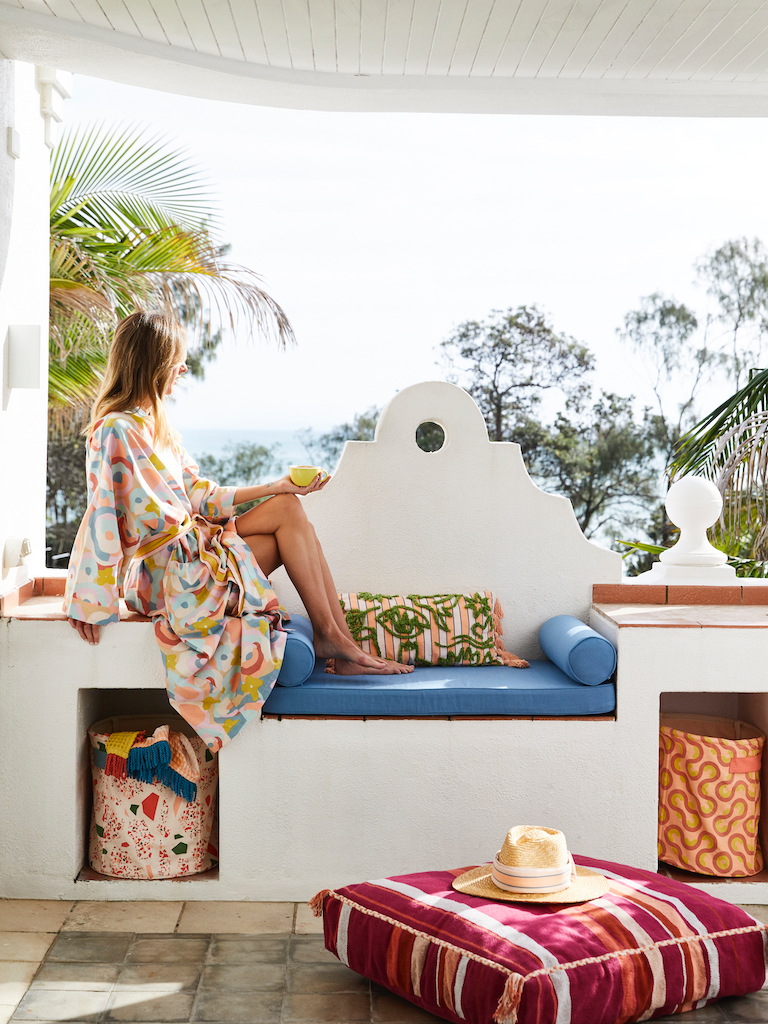
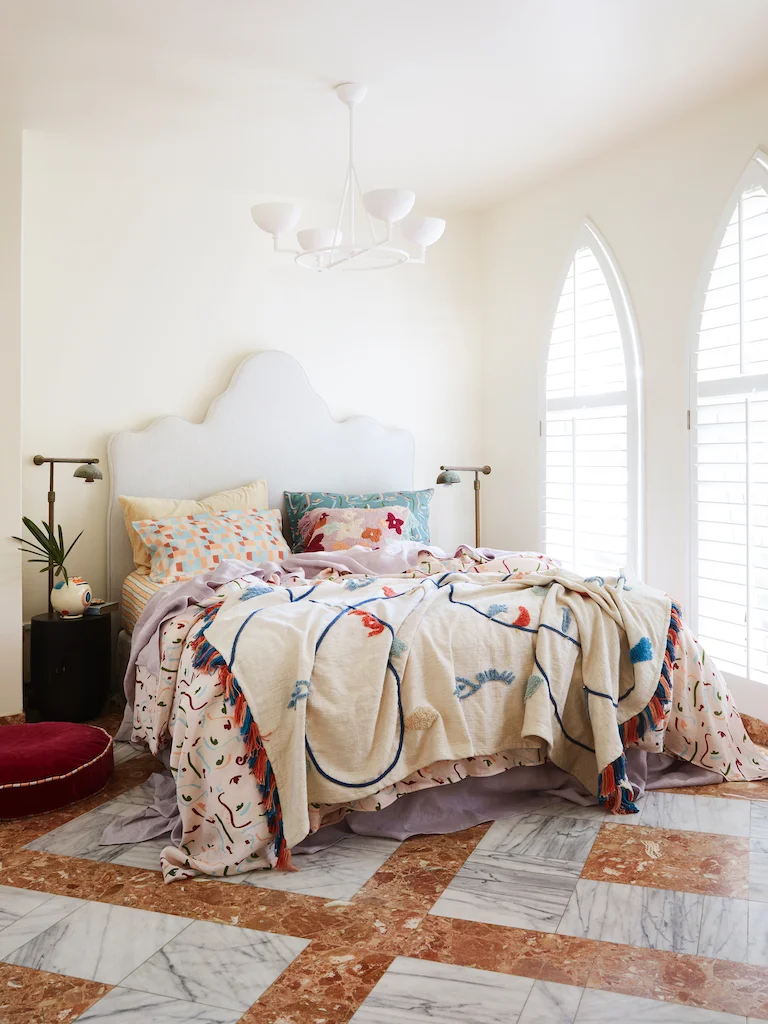
Stripes, stylized florals and flowing shapes feature throughout our collection, reminiscent of balmy European destinations, where beautiful beaches and charming villages create a laid-back holiday feel.
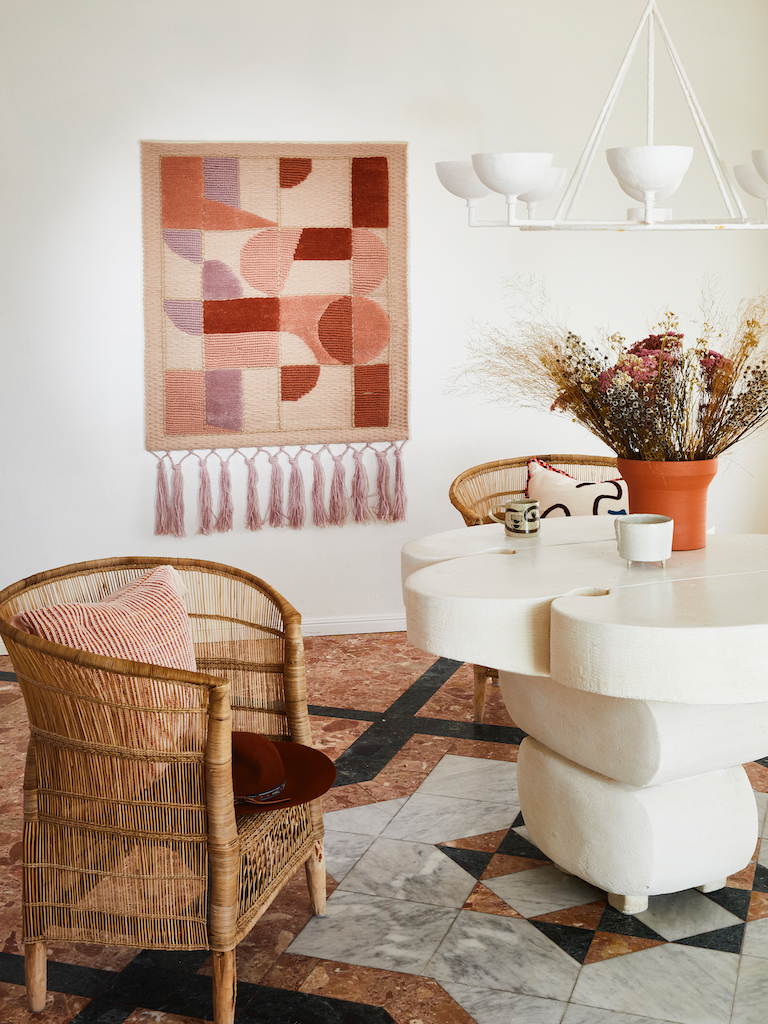
Style and sophistication are expressed here like nowhere else. The collection features braiding, sequins, beading, charms and gold pops, introducing a free-spirited bohemian feel that captures the essence of modern Moroccan design. These authentic, hand-crafted details are evocative of the artisanal wares found in the colourful medinas of Marrakech and its surrounds.
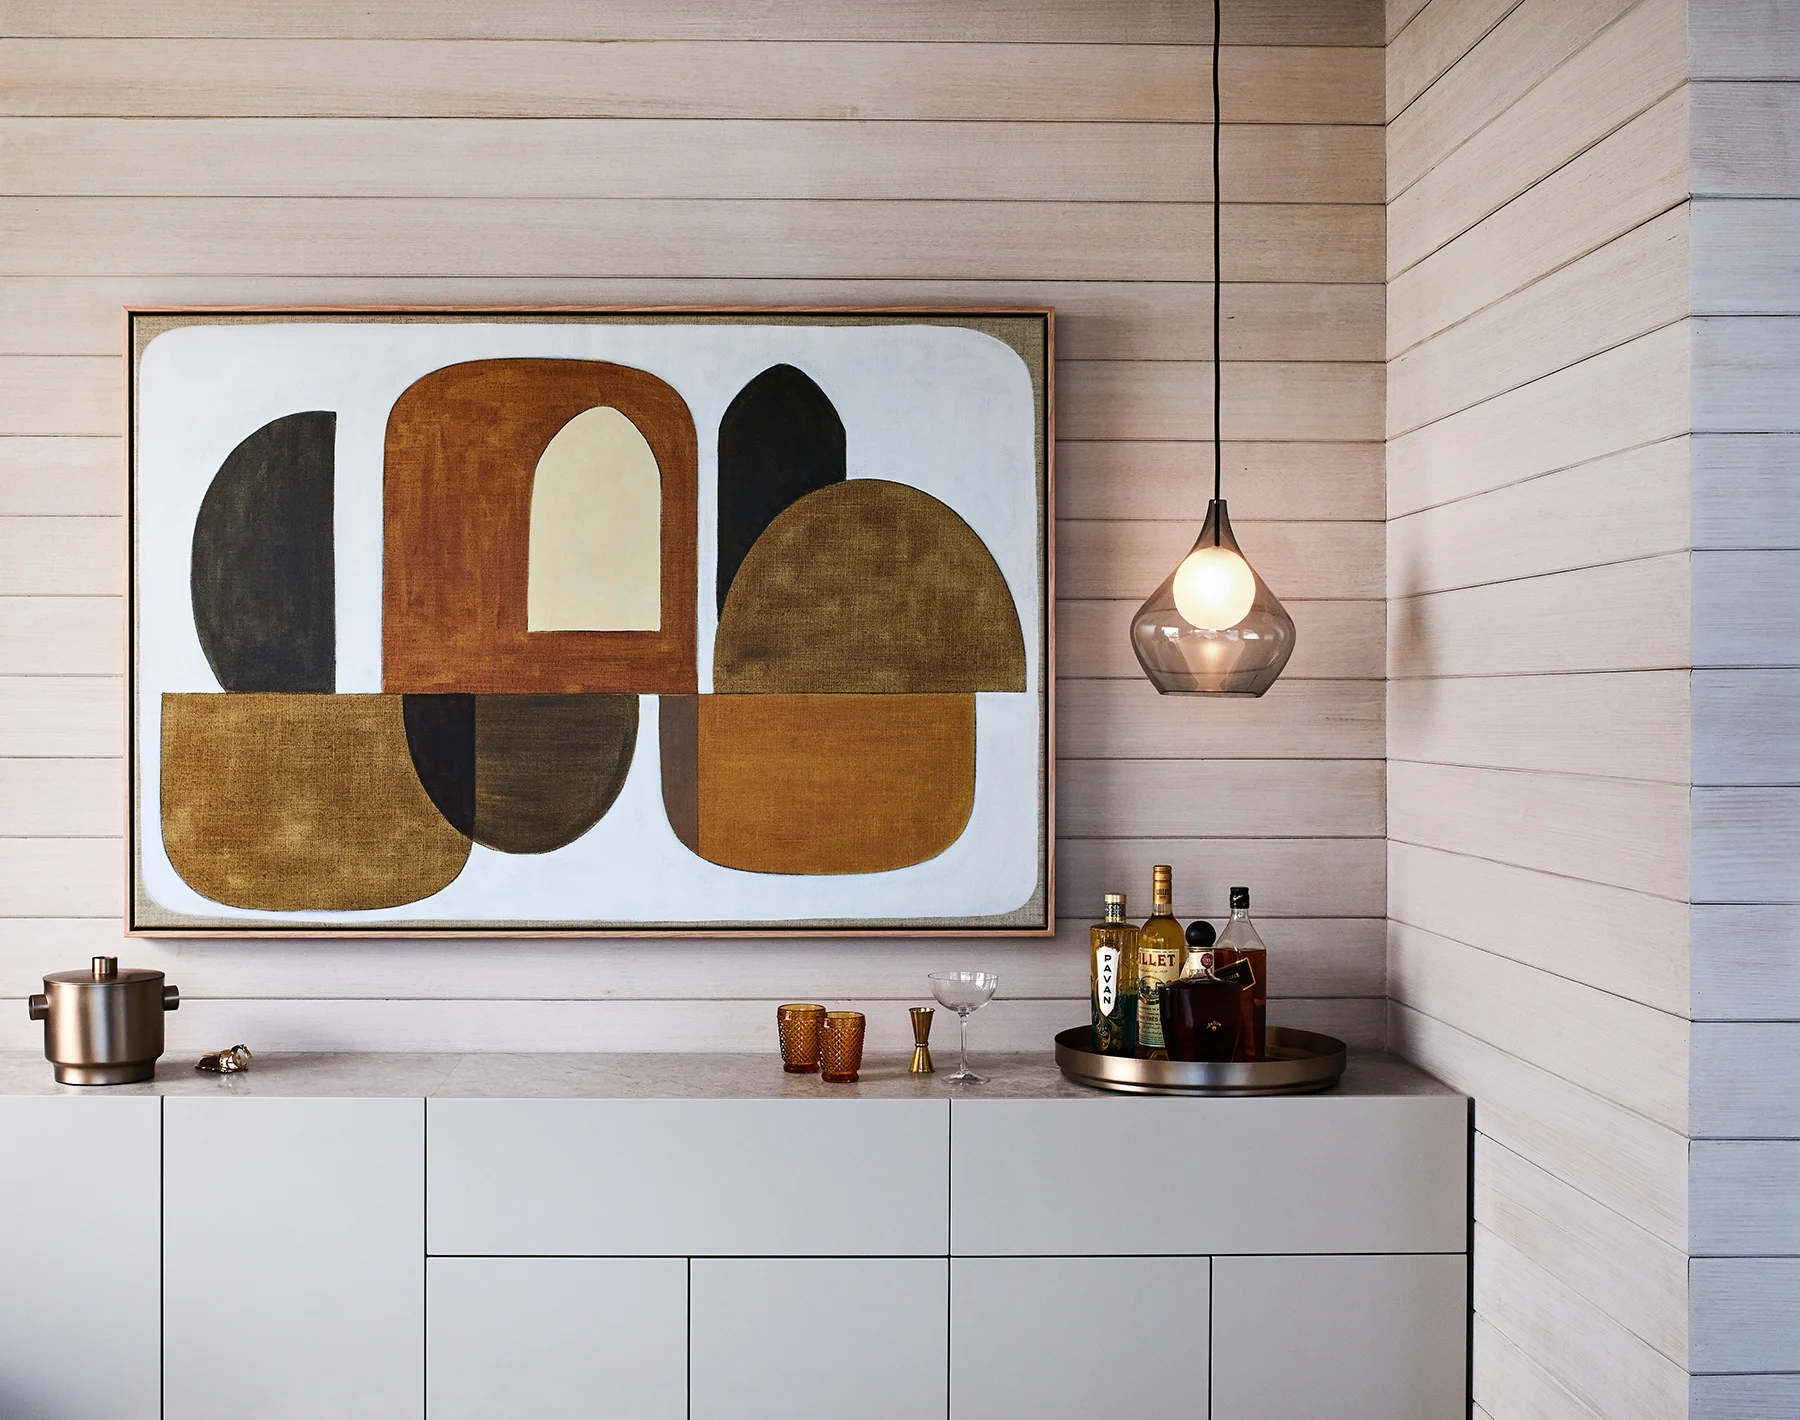
The addition of bold sunbursts and terrazzo patterns, as well as a cheeky nod to Picasso, continue the charismatic European and African influences found throughout the Soleil Collection.
The Soleil Collection is an ode to the beauty and charm of exotic destinations. We love its effortless summer vibes, its well travelled flavour and its laid-back holiday inspirations.


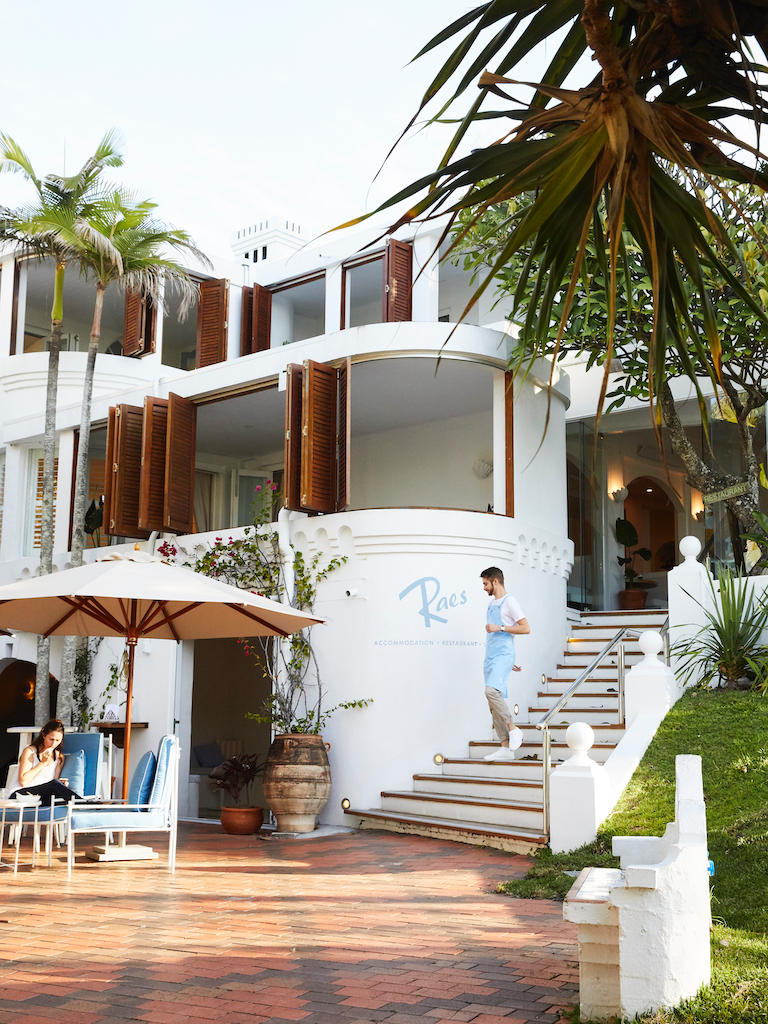
The new collection was shot at Rae’s On Wategos, Byron Bay.