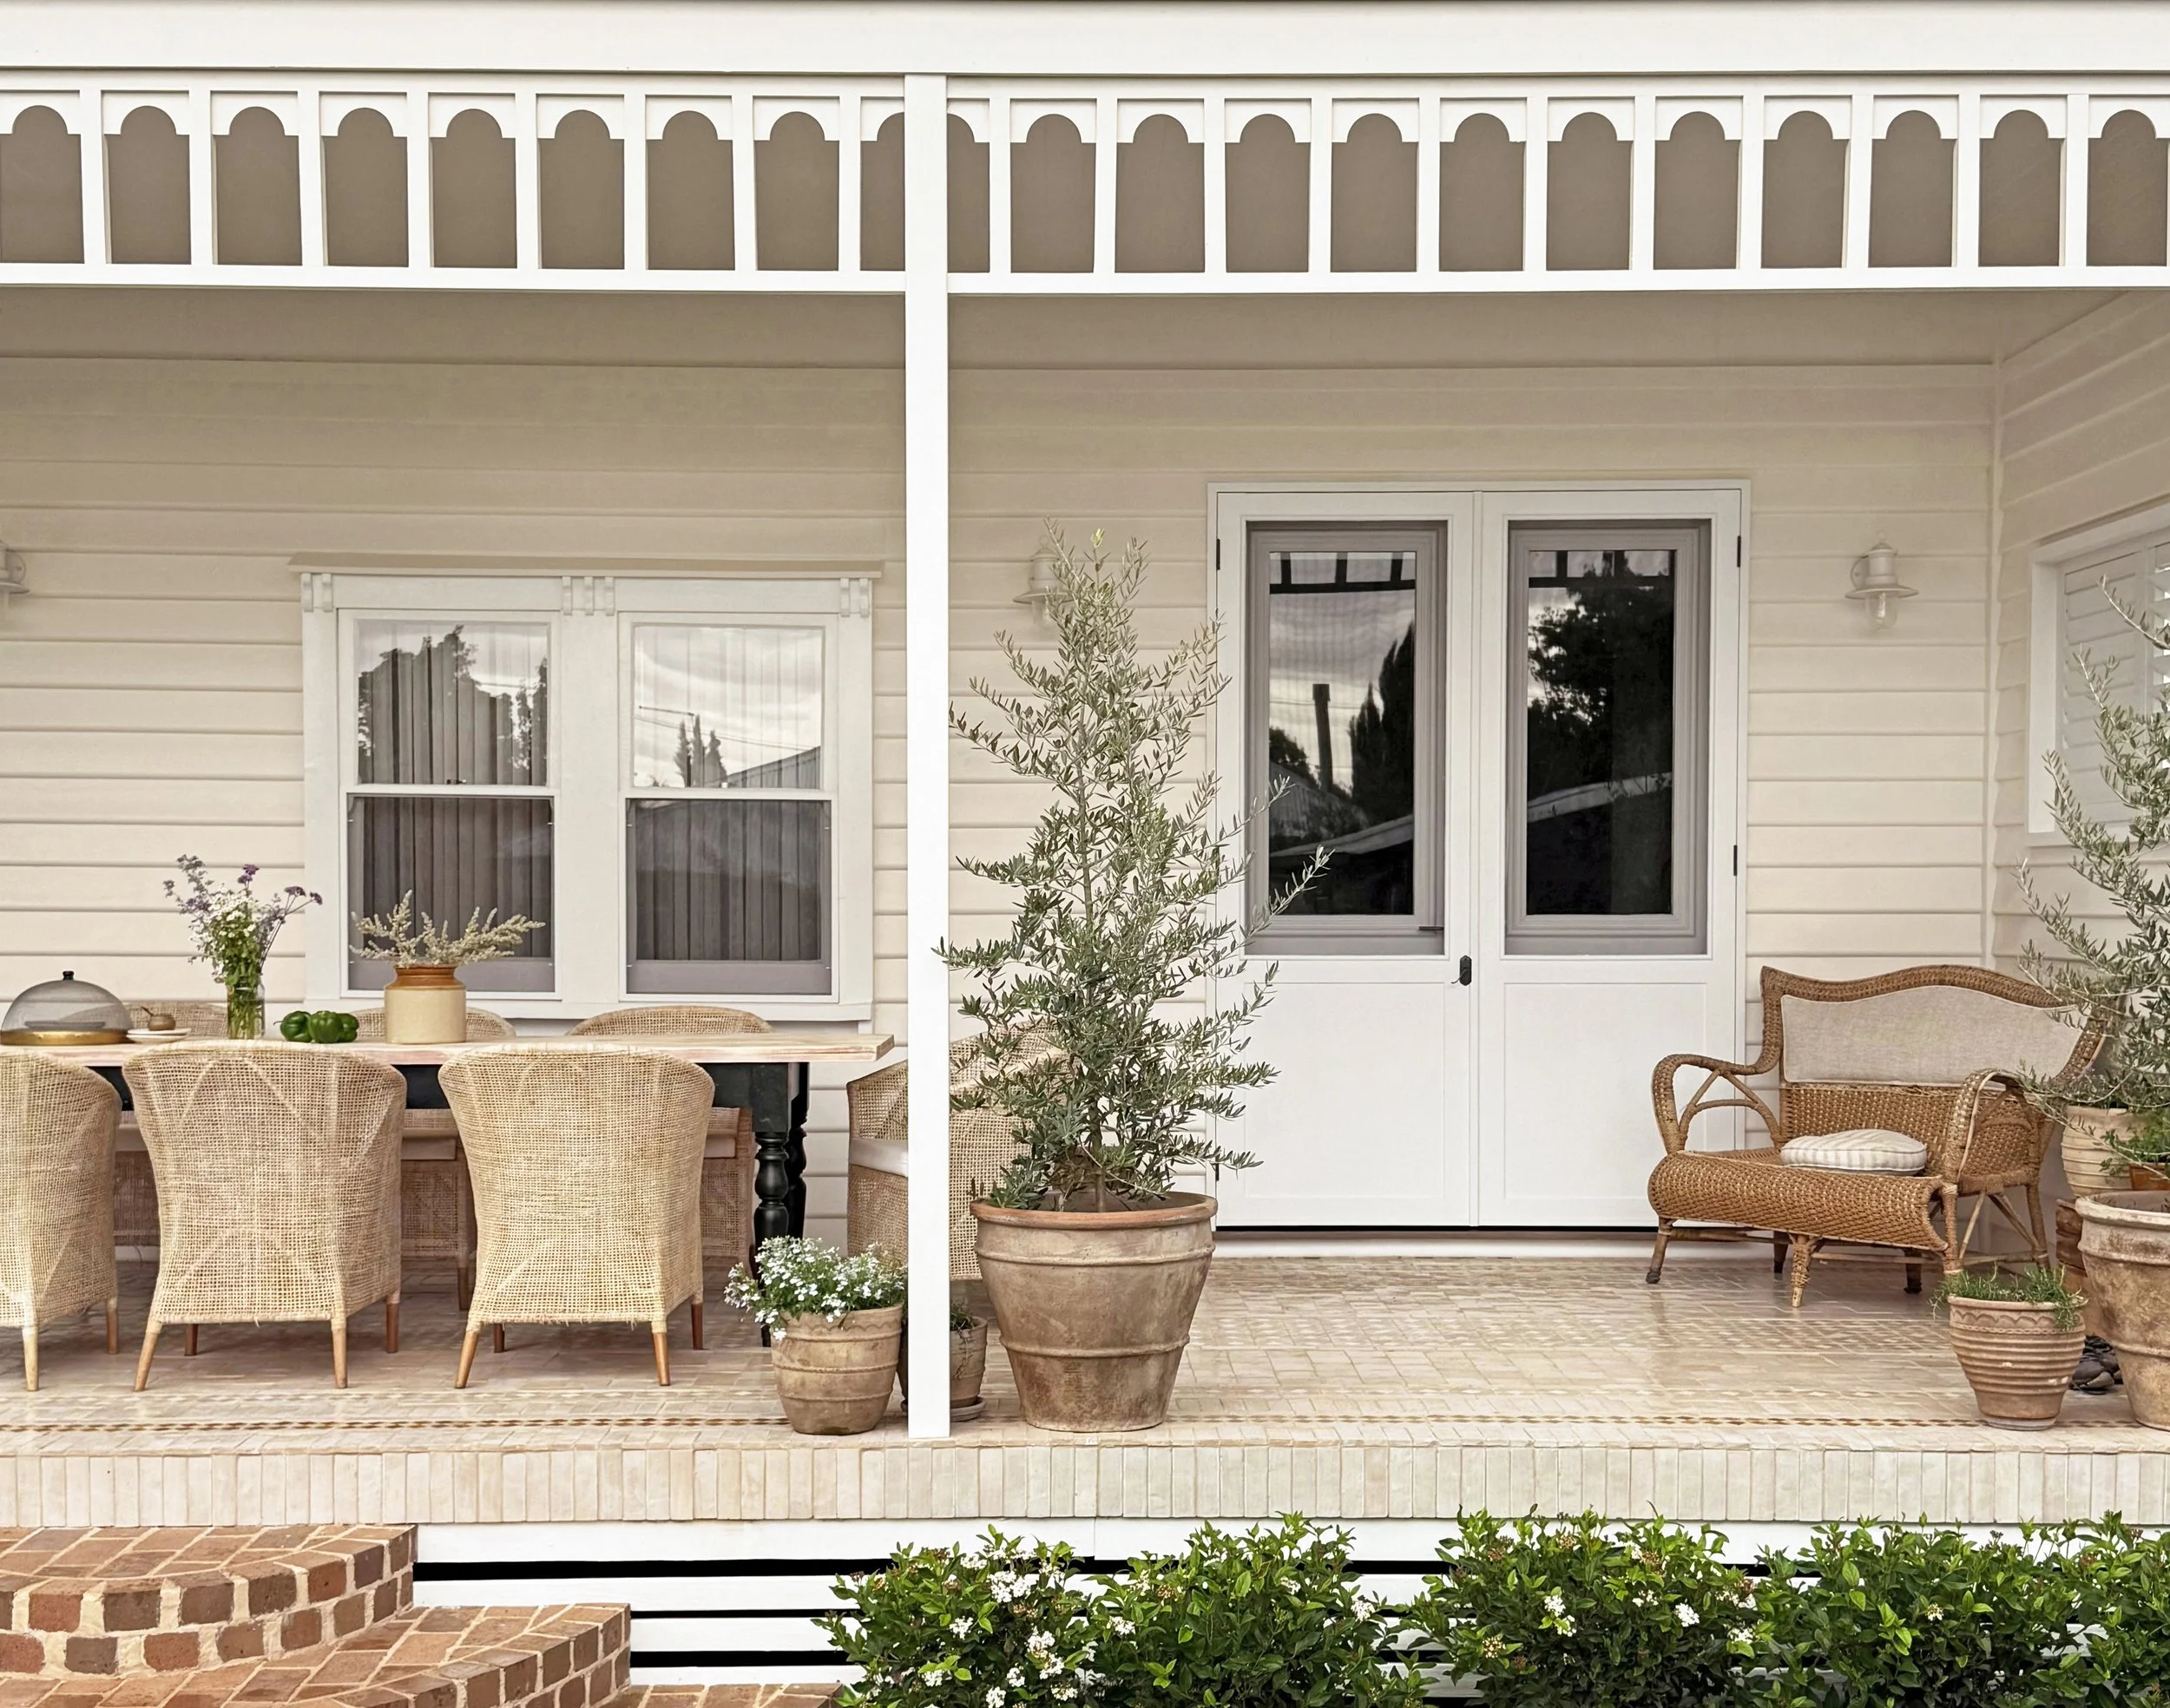
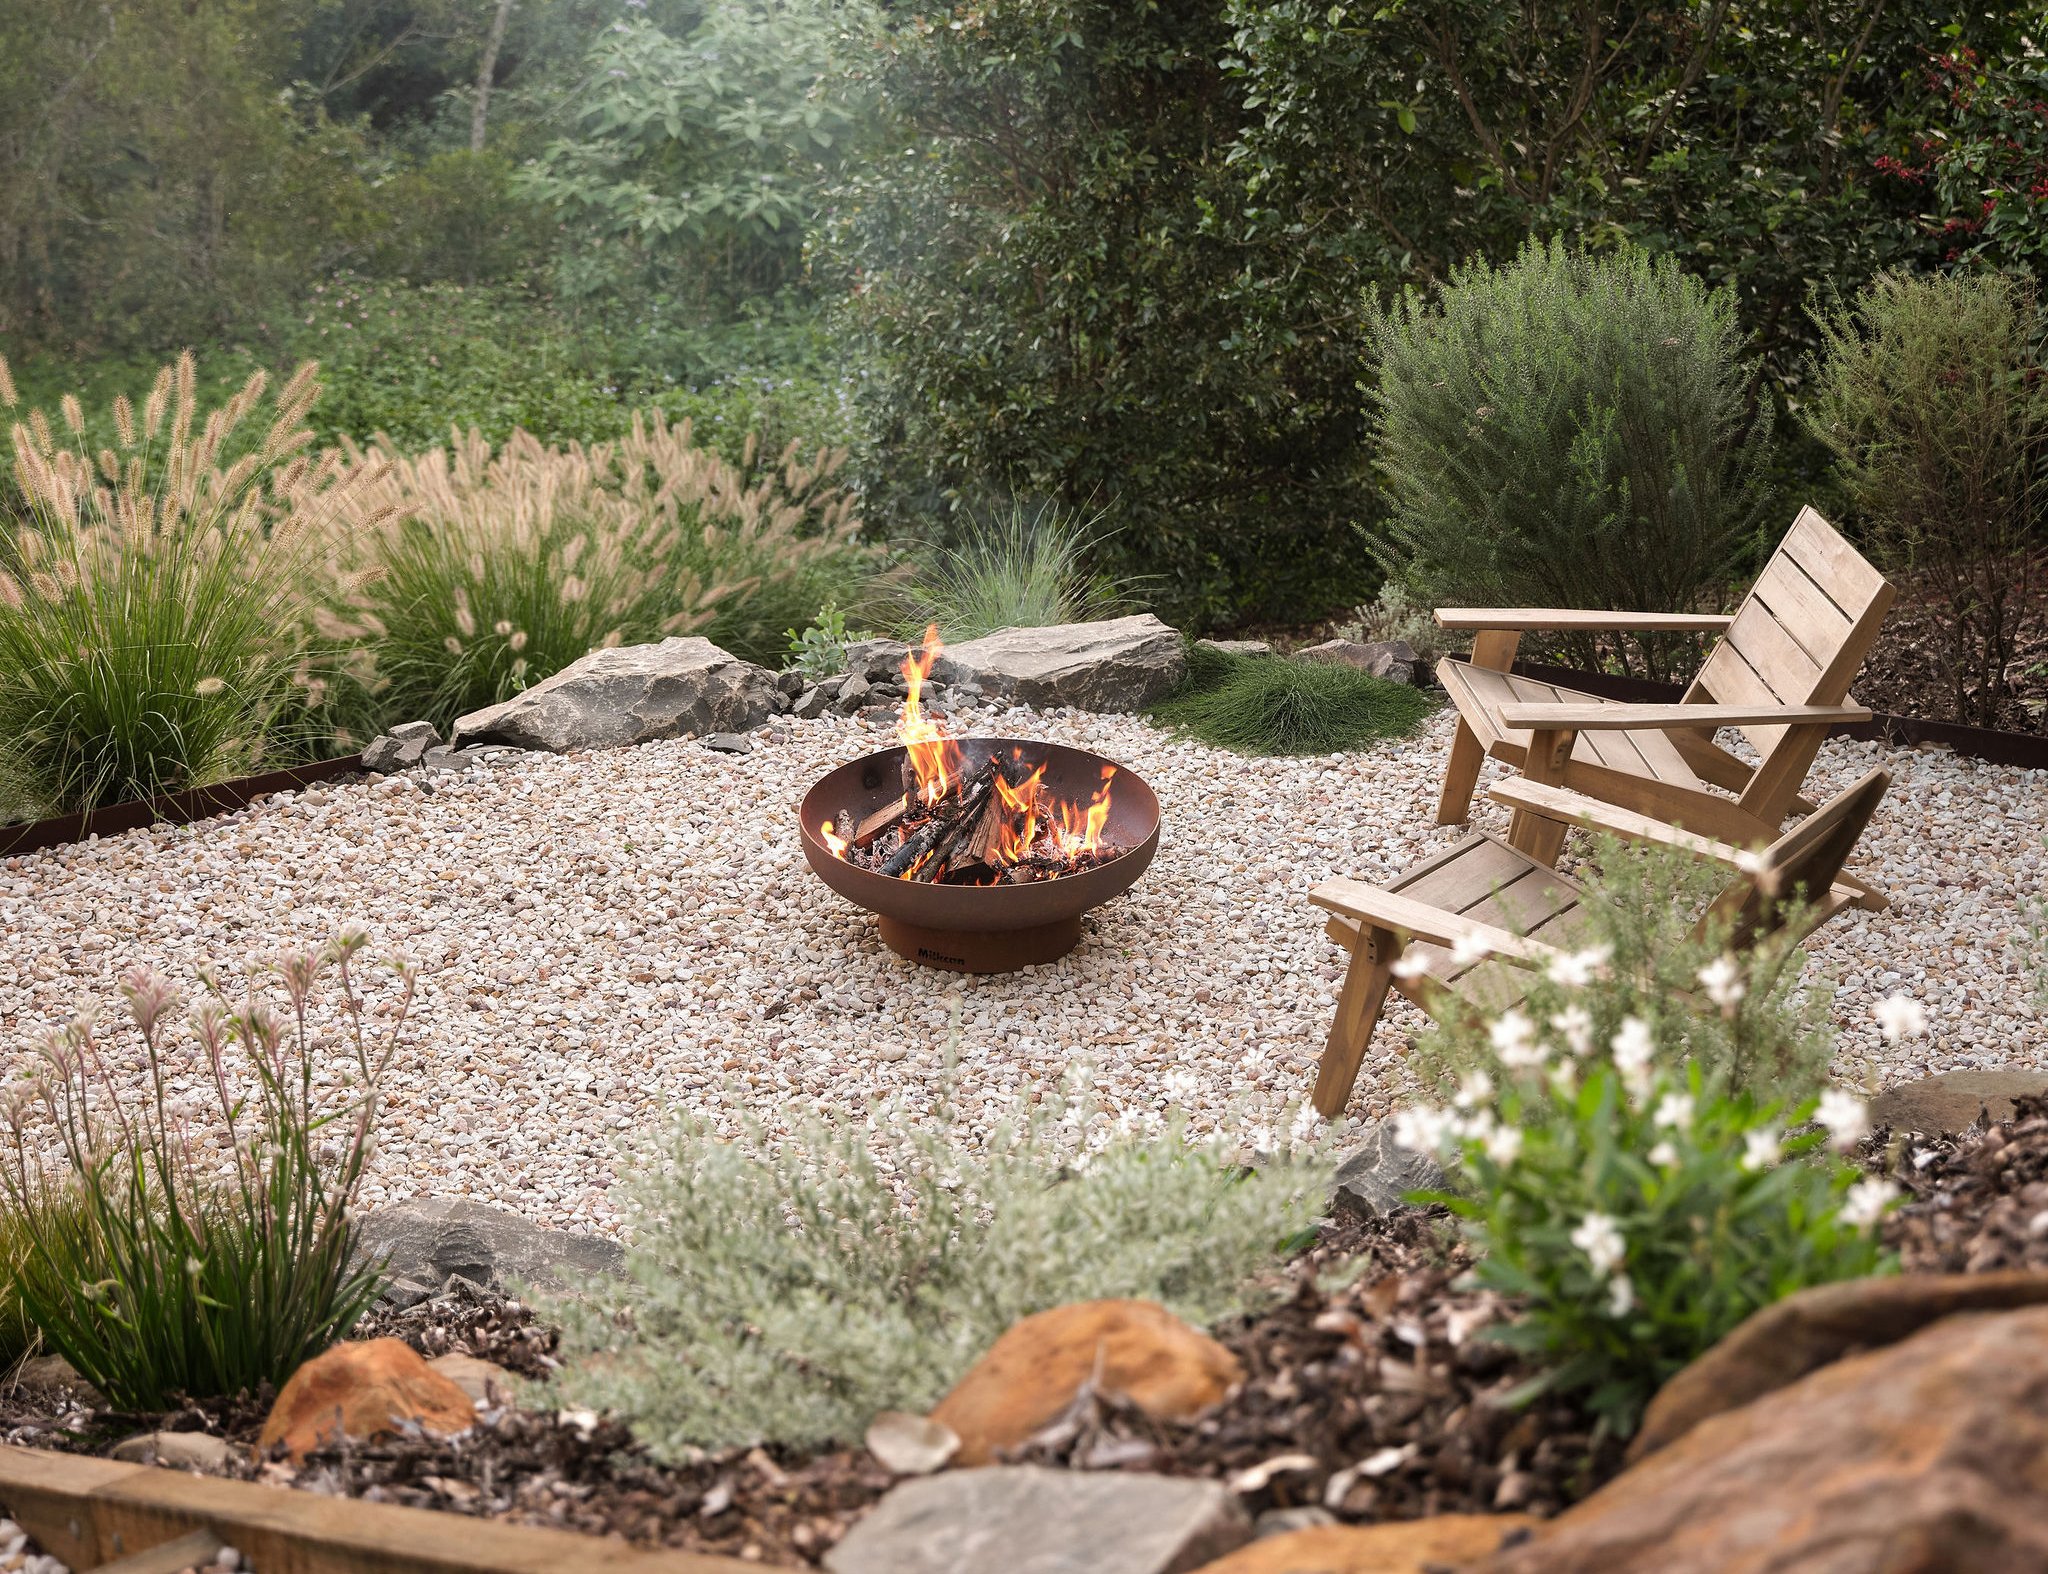
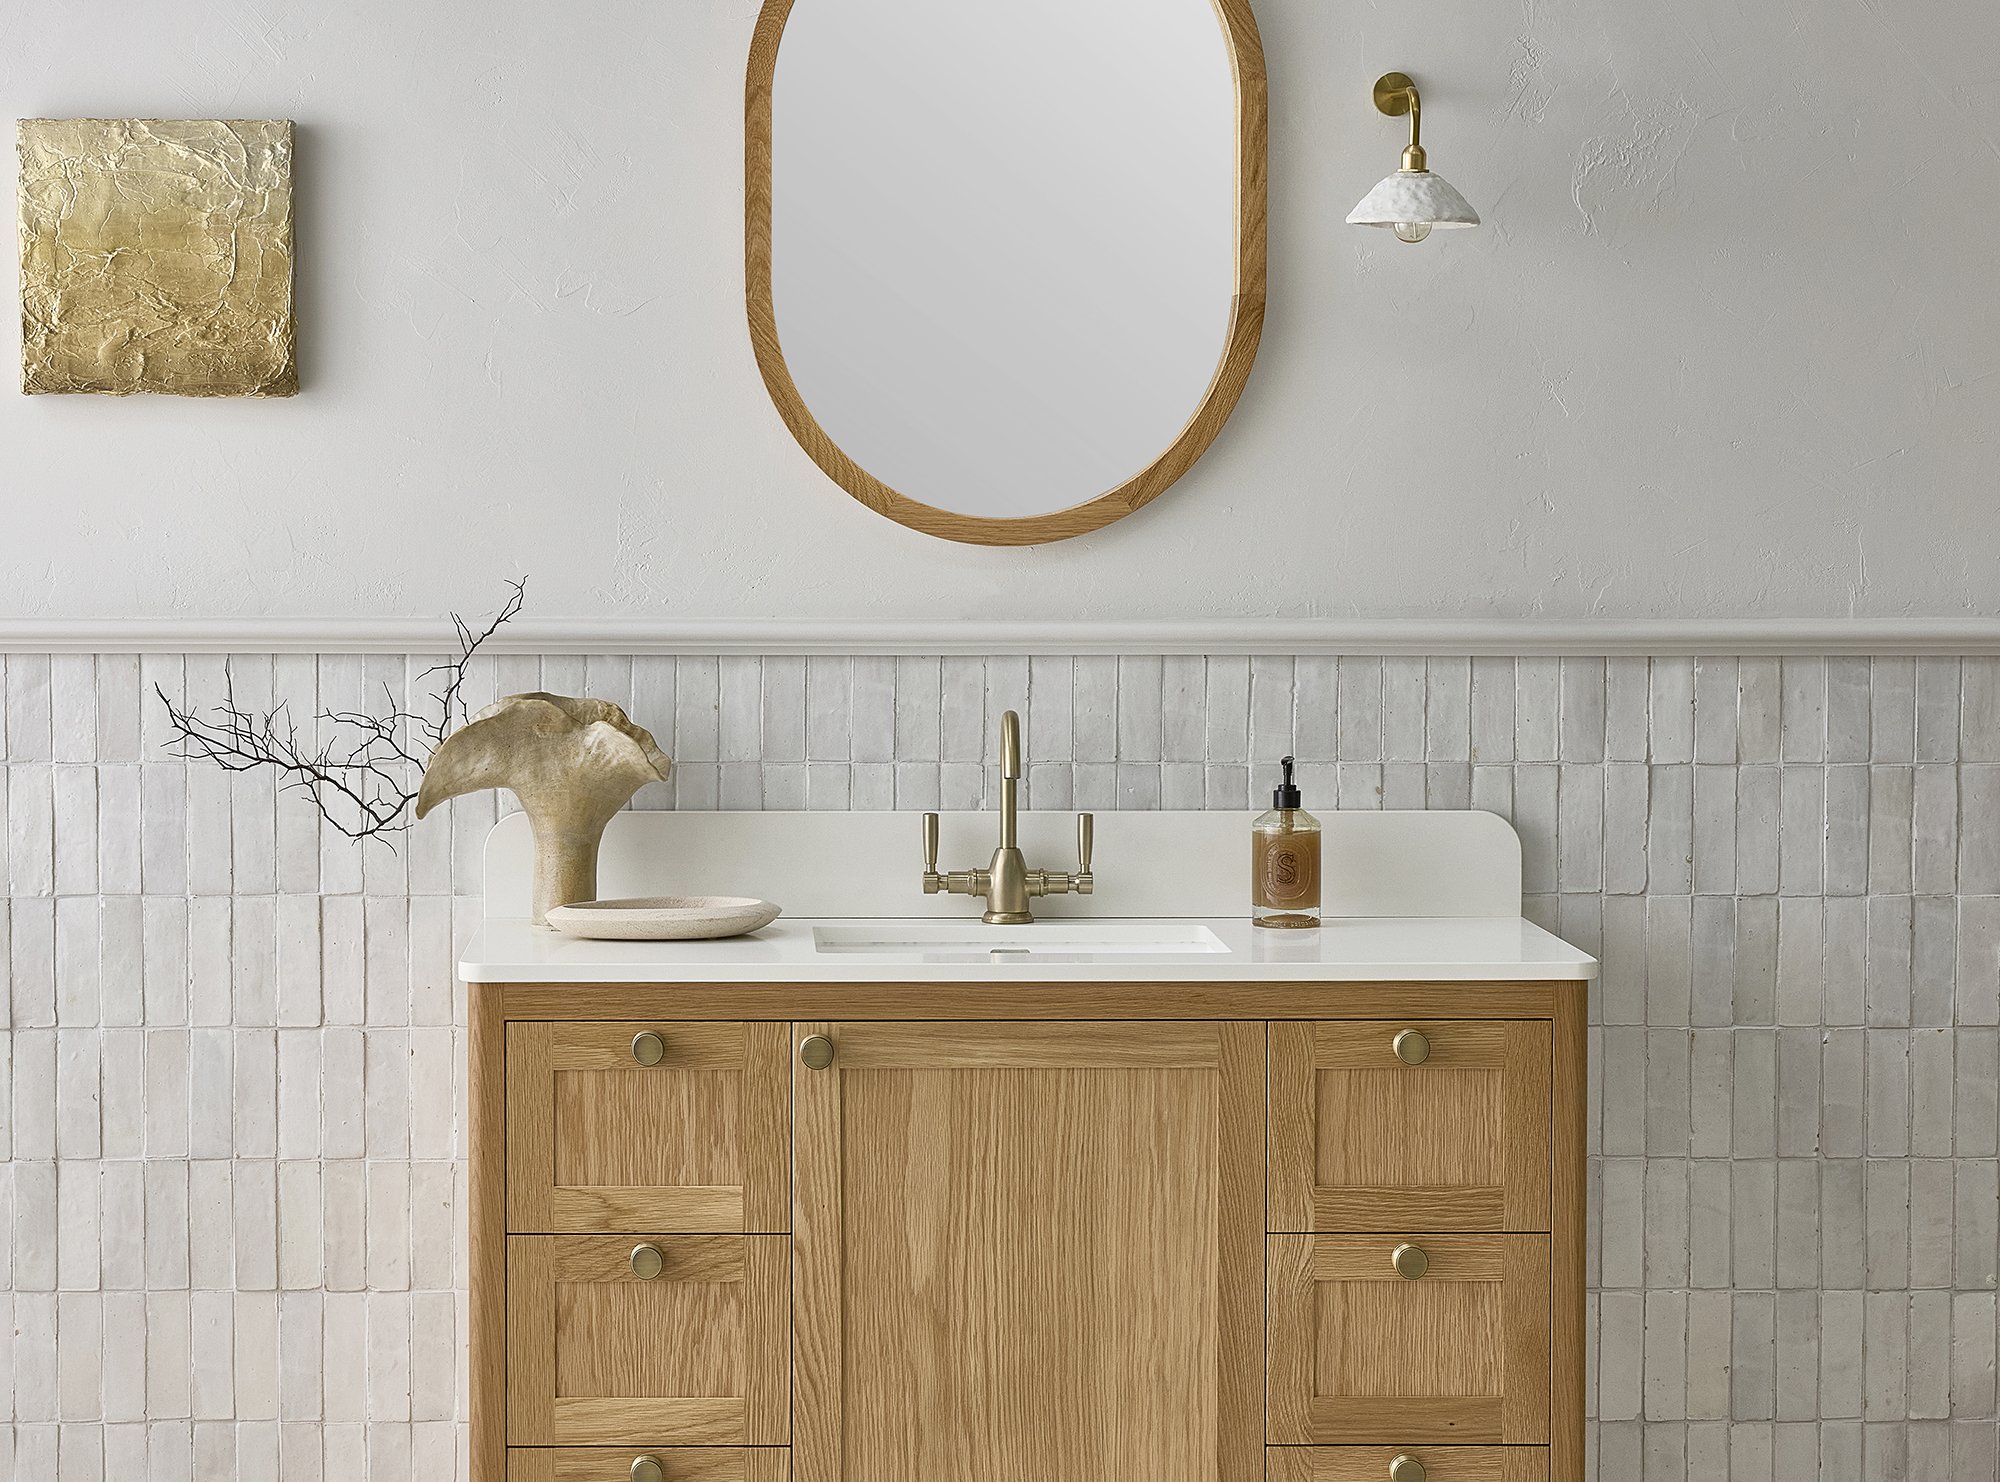
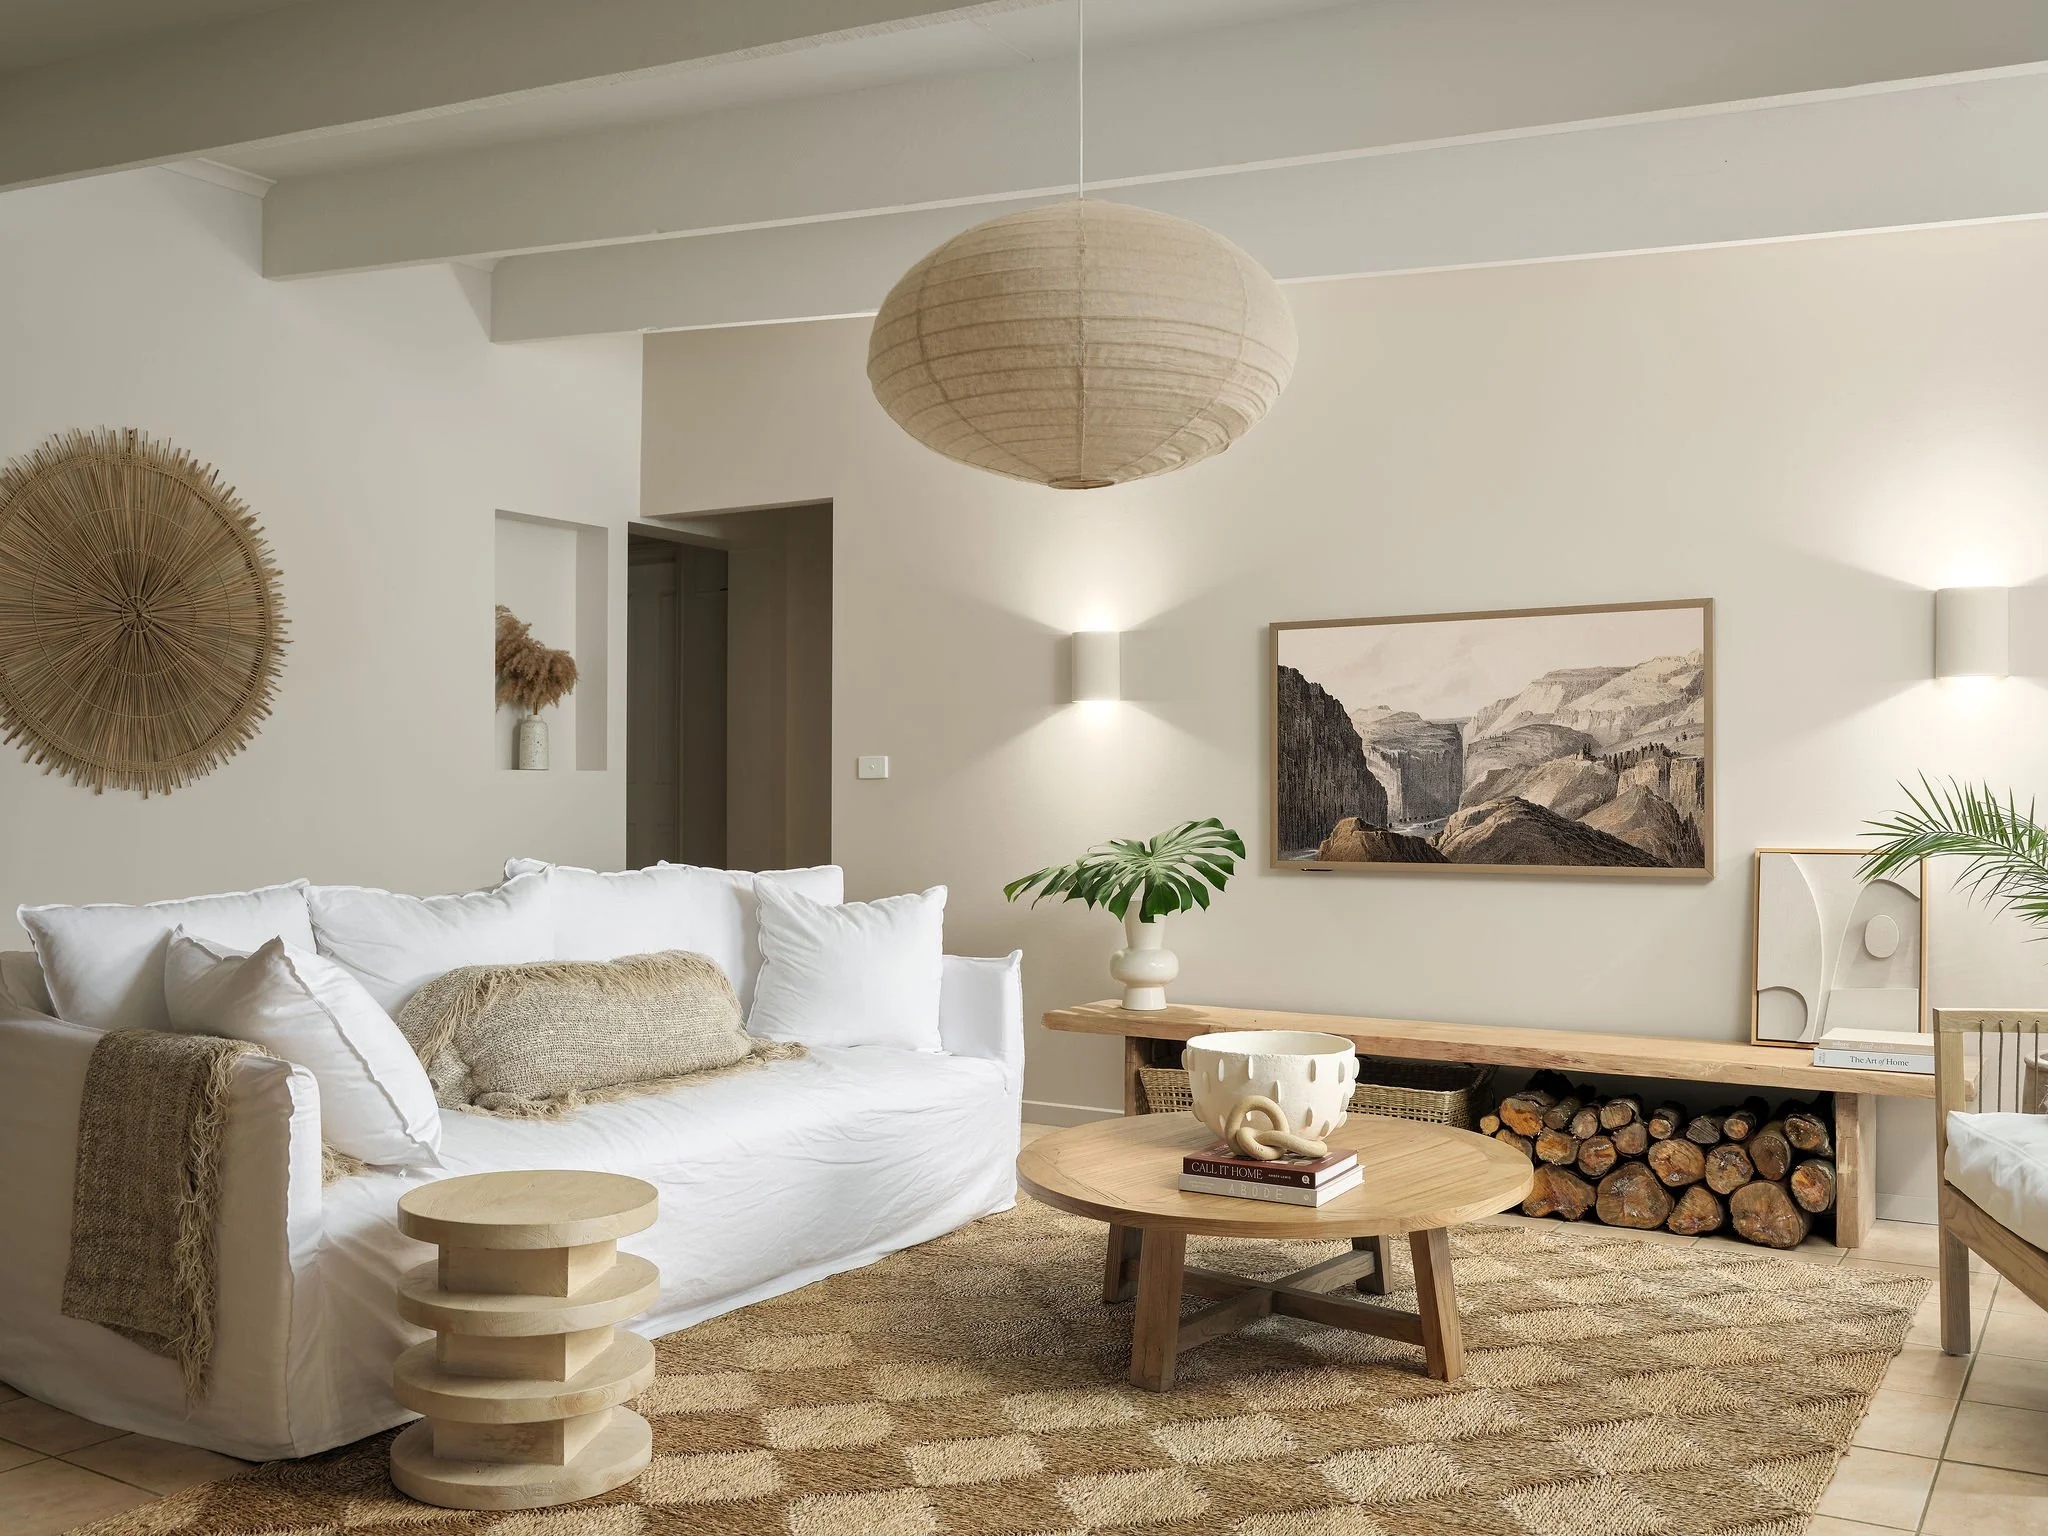
Higlett House 'Cactus Shack'

It’s with great excitement, that I reveal my Coastal cabin from SheShed. Located in my backyard, this studio space offers me the ability to work from home, you gotta love a 10 second commute to work!

Photography Coastpark Creative

You may remember we had one of SheShed’s Star Cabins in the backyard of our previous home (click here to check it out), and we loved the fact that it gave our small home an extra space to work from. My partner used it as his photography/videography studio. It also doubled as a space he could listen to his record collection without me telling him to turn it down haha.

This time though, I wanted our new cabin, at our new house, to be just for me. Not only does this space function as my home office, it also doubles as a pop up shop for me to sell plants (mainly cactus and succulents). I’ve affectionately called my shed ‘The Cactus Shack’ and it was fun to bring this space to life. I bought a cheap reception desk and added ribbed paneling to the front to give it a more designer look. I painted the panels in Tint ‘Potter’s Square’ which is a lively terracotta colour. I love the fact this desk can also function as my front counter when I eventually run my pop up shop.

I also needed plenty of storage for all of my paperwork, magazines, printer and office stationery. I purchased three ‘Ivar’ cabinets from IKEA and painted these in Tint ‘Gracie’ - a dusty peach colour which works in so well with all of the other colours in the space.

I chose the Coastal cabin from SheShed because of its shape - I love how it really complements our own home’s aesthetic. It has a modern feel with a skillion roof which fits in so well with our own home’s back exterior. The cabin comes as a kit with everything you need to put it together. It does however require some carpentry knowledge and skills to assemble and for that reason we hired a builder to put it together for us. It took two experienced carpenters approximately 4-5 days to put it together. Prior to it being built I had a trench dug from our house out to the concrete slab base for our shed, and hired an electrician to lay electrical cable out to it so that the shed could be connected to power. I have power points, LED strip lighting and even an air-conditioner in here so that it is a comfortable space to work from. I will say this - it’s definitely worthwhile getting an air con as these sheds can get very hot inside.

Another thing we added to our Coastal cabin is a small deck. We chose a composite decking from Ekodeck in the ‘Backbeach’ colourway which is the same style we used on the back of our house. We love that it’s a low-maintenance product and the colour of it is quite coastal in style too.

The walls are made from untreated timber, so it does need to be painted to help protect it from the elements. We painted our exterior in Tint ‘So Fresh and So Clean’. Inside we had a little bit of fun with the colour palette. The majority of walls and the ceiling are painted in Tint ‘Midnight Pancakes’ which is a lovely soft pink colour. The back wall is painted in a slightly darker tone of pink - this is Tint ‘Dawn Patrol’.

I just adore my Coastal cabin, and I think when it comes time to sell our home, this studio space will add so much to the resale value. The future home owners could really use this space for anything - a work space, a hobby room or even a potting shed!

Higlett House Backyard + Rear Exterior

Welcome to our backyard and back of house exterior reveal! This has been a long time coming as we began the backyard landscaping almost as soon as we got the keys. Over a year of growth on, and this space is now a lush oasis.

Photography Coastpark Creative

before

Let’s start with the back exterior and what it used to look like. There was a tacked on laundry addition that looked completely out of sync with the rest of the home’s architecture (no doubt added later on). You had to step down into the laundry and I absolutely hated being down there. We could relocate the laundry into our new kitchen layout so it was a non-issue to remove this area. The longer part of the home was actually an extension added in the 90s by a previous owner. Its roof line didn’t actually meet with the highest peak of the original home’s roofline, so it always looked a bit odd.

So here’s what we did… We removed the laundry and pergola first (oh and all of those hexagon pavers). Instantly this alone made such a difference to the way the home felt. We replaced the previous doorway that led into the laundry with a narrow fixed window to allow natural light into the hallway.

Then we had the plastic vinyl cladding removed (yes it looks like weatherboards - but it was actually plastic covering up real timber weatherboards). I can understand why the previous owner chose to do this as the weatherboards were painted in lead paint and flaking. Some of the boards were also rotten. So all of this was stripped back to the studs. New white stacking sliding doors were installed to replace the pokey windows which has given us that indoor/outdoor connection that we craved. It has also flooded this space with lots of natural light. We purchased the sliding doors from Window Warehouse in Mt Gravatt (Brisbane). I always recommend them to fellow renovators as their prices can’t be beat and the quality is excellent.

Then we had the back of house reclad in Linea™ Weatherboards by James Hardie and Axon™ Cladding by James Hardie. I chose to do two types of cladding out here to create visual interest. The VJ and weatherboards both play into that coastal feel complementing our 60s beach shack. I also wanted to future proof this space - the cement sheeting is made to last and will withstand the elements, unlike timber cladding. The walls and eaves are painted in Taubmans ‘Crisp White’ and it’s a nice, bright white. I just love how fresh the back looks now.

We also tackled the roof line. By extending the roof line on the right hand side up to meet the left side centre peak, we were able to create a skillion style overhang which looks so good. It just feels complete now - like it was meant to be. Without a doubt, our back of house is now completely unrecognisable!

DECKING

We used Ekodeck composite decking at our last house and I decided to use it again on our current home. This time though I went with a different colour - Backbeach. I love it - the colour looks like a blonde pine coloured timber in the sun. And in the shade it looks a bit more grey-ish toned in colour. I love the way it looks - it’s totally giving coastal vibes. But the best part is that it’s virtually zero-maintenance because it’s a composite product (no oiling or staining every year like a timber one). And whilst it does get hot in full sun, it’s not an issue for us as we usually just slip on shoes before heading outside anyways. The pros of no maintenance definitely outweigh the wearing of shoes issue, so it was a no brainer for us to use again.

If you’re unsure what colour to go for, you can order a free sample kit here.

‘Muffin Top’ pots from The Balcony Garden / Premium beach umbrella from Business & Pleasure Co.

POTS

My go to company for outdoor pots is The Balcony Garden. Their lightweight contemporary range of pots feature a whole array of different shapes and styles and come in three staple colours - white, charcoal and concrete grey. For Palm Springs vibes I’ve gone for the white pots in the ‘Muffin Top’ and ‘Straight Up’ styles.

FURNITURE

I wanted outdoor furniture to complement our colour scheme out here - white and tan tones were a must. Plus I was looking for something slightly different. When I came across this gorgeous ‘Ponte’ and ‘Marbella’ dining setting from Eden Living I knew I found the perfect outdoor table and chairs. The chunky column style legs and rounded ceramic marble-look table top make this outdoor table a stand-out from anything else I’ve seen. The ceramic top is an extremely strong and almost maintenance-free material. I find it super easy to wipe down and keep clean. As it’s suited to outdoors I’m totally fine about this not being undercover. I get so many compliments about this outdoor setting.

I also wanted to add that the delivery and assembly service was exceptional! I had two guys from Eden Living deliver the furniture, and not only did they assemble and set it all up, they also took away all of the packaging rubbish. They get a 10/10 from me for service and product.

BACKYARD BEFORE

The picture above shows what the backyard looked like when we bought it. There were chain wire fences surrounding the property and it was literally the first thing we had replaced because there was zero privacy. Unfortunately both neighbours on each side of us refused to go halves in the cost (except for the lady behind us although that part of the fence was only quarter of a fence so it was cheap anyways), so this was a huge expense to us, we paid over $7,000! I know, insane and that was the cheapest quote. Anyways, we also had the land cleared there was a lot of overgrown vegetation and a tree which actually is classed as an invasive weed intertwined with the lemon tree and growing over into the fence and over the neighbour’s side. The only tree we kept was the lemon tree. As you can see it was growing over the top of the shed. Why someone would put a shed right up against a tree like this, I’ll never know! We painted our fence in Tint ‘So Fresh and So Clean’ exterior paint. It really has made such a massive difference to the way the backyard feels - so bright, light and airy. It ties in so well with our whole Palm Springs style garden too.

We got rid of the shed, and used the concrete slab it was sitting on for our firepit area. We had Mountaintop Masonry build our brick bench seat and then had it professionally rendered. You can see this progress in the ‘during’ shot below. It’s fun to look back on how things used to look and what they look like now. This space has certainly come a long way. Just look at that red dirt!

FIRE PIT AREA

Originally we had wanted to crazy pave the concrete slab, but with a dwindling budget at the end of the reno, we decided the best cost-effective method to spruce it up, would be paving paint. We have used the Ultra Pave paint from White Knight and had it tinted in Colorbond ‘Paper Bark’. It’s a soft beige colour which ties in with our ‘Kuddarna’ outdoor cushions from IKEA (sitting on top of the bench seat). We also added a grip additive from White Knight to the paint in the last coat and we haven’t had any slips!

We have the ‘Tuscon’ fire pit (80cm size) from Milkcan. We used it a few times when we moved in with my parents in Maleny (just temporarily whilst we were renovating), and it’s so good my parents want one too! We brought it back with us and it will be great to use it again when the weather cools down.

Tuscon’ fire pit (80cm size) from Milkcan / ‘The Weekend’ beach umbrella in sage from Basil Bangs

I have included a breakdown of our backyard budget below. Please keep in mind I have not included the cost of the decking or house cladding as our builder completed this for us as part of our overall home renovation (which was an all inclusive price and I’m unsure how much of that would have been for the deck + back cladding). Decking pricing does depend on your space too, so it’s always a good idea to get three quotes from carpenters/builders in your area. I would also like to point out that we hired someone locally to help us with some of the manual labour for our backyard reno (including excavation, skip hire to remove a layer of dirt and the old grass, concrete slab pour for the SheShed, laying the turf, digging holes for the mature trees, helping us get the trees in the ground and putting in all of the garden edging). I would also like to add that we could have saved a lot of money had we done some of these things ourselves. Things we did do: paint the fence, plan the landscaping design, select all of the plants and planting, along with bringing in all of the soil and pebbles for the gardens ourselves.

We are just so happy with how this space has grown and flourished over the past year. And whilst at some stages of the reno it seemed silly to do the backyard landscaping first, in my opinion the earlier you can landscape the better, as we do plan to re-sell this year and it’s better to have more mature looking gardens for the open homes.

Higlett House Bedroom Refresh

Welcome to my bedroom refresh! With a few budget-friendly pieces I’ve been able to give the room a whole new feel.

I’ve been wanting to give my bedroom a little refresh for a few months now. As the home has progressed and we’ve introduced more of the colour green throughout, I’ve been craving to bring some green accents into our main bedroom. With a few budget friendly finds, I’ve been able to give this room a complete fresh feel. The very first thing I wanted to update, was the artwork. I had always felt like the previous art wasn’t big enough for this space as we have tall ceilings. When I found this ‘Nostalgia’ art print by artist Sureen Gouws (available from TOO Designs) I knew it would be perfect for our bedroom. It’s actually a print of one of Sureen’s original textured 3D relief artworks, so it’s a more affordable option but still gives the look and feel of 3D textured art. I chose the framed canvas option - although there is a paper prints available too.


- DISCOUNT CODE -

I have a special discount code for my Adore readers - 15% off site-wide from TOO Designs (you’ll find art prints, clocks and magnetic artworks). Just use the code ADORE15 at the checkout. The discount is not applicable to the framing cost as a heads up.


I already had these Frankie green stripe cushions in my living room and popped them in the bedroom - they look so great against the dark green European pillowcases from Bed Threads. And then to top it off I bought an affordable throw from Target, along with a cheap candle from Kmart, and some Eucalyptus leaves from the local florist. Everything else was existing - it definitely doesn’t cost a lot to give your bedroom a quick re-fresh.

Modern Farmhouse Edition Sneak Peek

Photography Coastpark Creative / Interior design Lisa Allen

I’m so excited to announce our Modern Farmhouse edition is at the printers! Because I’m impatient, here’s a little sneak peek look inside this Autumn issue.

Photography Coastpark Creative / Interior design Lisa Allen

The themes I work on for each issue of Adore are nearly always a reflection of my life at that time, and this issue is no different. I’ve been longing for more space, for nature and fresh mountain air, and I can hear the country calling my name. A tree-change might be on the cards for us this year, and with that possibility has come a growing fascination with modern farmhouse-style homes.

This issue, we’re touring three homes that each approach farmhouse style differently. I was fortunate enough to visit each home with my partner who also is Adore’s main photographer. I love touring homes in person, meeting the home owners is always nice and to chat about their home story, whether it’s a new build or renovation.

Photography Coastpark Creative / Interior Design Christal Alexander

Photography Nick Skinner / Interior Design Norsu Design

Photography Coastpark Creative / Interior Design Meg Tempest

It’s funny how fire pits these days are now a necessity! I’m based in sunny Queensland, and even I have a fire pit! Although I have to confess, most the time it will be used as a conversation area - it’s way too hot to be thinking about sitting by a fire. But the idea of it is alluring isn’t it? Sitting around a fire at winter, roasting marshmallows and starting into the flames is good for the soul. I can’t wait for the weather to cool down so we can use ours. I’ve rounded up a few great fire pit areas in this edition - there’s lots of inspiration there if you’re looking to create a fire pit area of your own.

In this edition we also take a look at 10 kitchen ideas to consider for your next kitchen renovation/new build. Is it crazy that I’m already taking notes for my next kitchen? I think a move to the country might be on the cards this year…

Design & Build M.J. Harris Group / Interior Design Courtneay McGrath / Photography Joel Noon

The new Modern Farmhouse edition will be out in newsagents in March (date to be confirmed) and available to pre-order now.

The Brunswick

We recently had the pleasure of staying at The Brunswick in Brunswick Heads, NSW. This beautiful adults-only boutique accommodation with its newly renovated rooms, offers guests a poolside setting against lush landscaping.

Photography Coastpark Creative

We stayed in a poolside room on the ground floor and instantly as we opened the door we felt relaxed by the bohemian, pared-back vibes of the space. Crisp white rendered walls with timber furniture, and gold-tone accents made the space feel calming – exactly what you want when on holiday! We loved the fact that through the room’s back door, we could access the pool. And the mini-bar filled with local treats and beverages was a nice touch.

If you’re up for some adventure, you can take one of the hotel’s bikes out for a spin - bikes are complimentary for guests to use on their stay. You’ve got the Brunswick River virtually on your doorstep - a great spot for a swim. And the local town isn’t very far either, about a 10 minute leisurely walk and you’ve got an impressive amount of cafes, shops and bars to choose from. This was my first time visiting Brunswick Heads and I have to say I was blown away by how many great eateries there were to choose from! It’s a bustling little spot too and I would liken it to a mini version of Byron Bay (which also happens to be only a 15 minute drive away).

Right across the road from The Brunswick is La Casita - a very cool Mexican restaurant. The walls are drenched in terracotta hues and the food was super tasty - it was a great little spot to grab some tacos and margaritas.

I absolutely loved the pool area at The Brunswick. This generous curvy pool set against lush landscaping was the perfect place to cool off in the afternoon after exploring everything the town has to offer. Adjacent to the pool is a cosy undercover spot with a variety of seating to chill out. Due to The Brunswick being adults only (guests must be 16 years+), it made for a very chilled-out experience. We loved our stay and highly recommend to anyone looking for a beautiful, relaxing spot to stay in Brunswick Heads.

Palm Beach Beauty

Landscaping and cosmetic updates turned the façade of Reece and Dani Hinchsliff’s home into a Palm Springs-inspired dream.

Home @palmy.springs / Photography Tanika Blair

“We could achieve our desired look with minimal works; the home already had a skillion roof and grand front door,” says homeowner Dani Hinchsliff of @palmy.springs. Working with the existing foundations and their love for mid-century design, the husband-and-wife duo set about renovating their home’s front garden and façade.

The couple cleared the existing garden and had two breezeblock screen walls built. They tackled the landscaping themselves, hand-selecting cacti from Architectural By Nature. A Livistona Australis palm tree sits centre-stage and is complemented by an assortment of cacti, including Pachycereus pringlei, Euphorbia ‘Cowboy’, Golden Barrel, Silver Torch, Queen Victoria Agave, and Agave ‘Dragon Toes’.

“Crushed gravel helped us create a higher-level garden bed and then we finished it off with large boulders and stones scattered throughout. The curves in the garden edging make it feel playful.”

“We replaced the front door and painted it in British Paints ‘Peachy Dream’.  We also had the exterior bricks painted in Dulux ‘Casper White Quarter’ and replaced the old lighting fixtures with opal sphere lights.”

Life Instyle Sydney

Don’t miss Life Instyle Sydney, a trade-only event for all things Australian
made, ethical and sustainable.

Photography Samee Lapham

Co-located with Reed Gift Fairs, over 500 curated brands will be showcasing their new products. Life Instyle takes place 17-20 February at the ICC Sydney. This boutique event is a great sourcing opportunity for retail buyers and designers looking to stock curated well-designed products, across homewares, lifestyle, kids and fashion.

If you want to keep up on the latest retail trends then don’t miss Retail Therapy. Presented by leading experts in their field, Retail Therapy will equip you with the know-how to evolve your business and take your customer experience to the next level.

The Style Studio, Life Instyle’s new feature area, is your go-to inspiration to see a live photoshoot in action with products from Life Instyle exhibitors. Hosted by The Life Style Edit, it will show you how to bring together beautiful products and innovative styling to design stunning sets each day to create some amazing images to be used online and in print.

Another exciting feature area is The Business Couch. Here visitors have the opportunity to receive a complimentary one-on-one business consultation with either The Life Style Edit, thelotco, and NW Creative Studio. With their vast experience consulting on retail, wholesale, pricing, marketing, sales and so much more, get the insights and advice you need to move your business to the next level in our a bespoke 45-minute session.

Don’t miss out on four days of sourcing, networking and education and register now for your FREE ticket.

Higlett House Front entry + Exterior

This has to be my favourite transformation of our home - the front facade and garden. We’ve embraced our home’s mid-century modern roots, and turned the front into a Palm Springs style oasis.

Photography Coastpark Creative

Front exterior before

BEFORE

Our home was built in 1960 and had a great shape - long and lean with winged details on the sides and clerestory windows. However, whilst it might look like we just painted the front of house, and did a little bit of landscaping, there’s actually a lot more to it than meets the eye. The house was completely clad in a vinyl cladding that looked like weatherboards (but wasn’t). And underneath it (on the front) was asbestos fibro sheeting with paint that was bubbling and flaking off. The whole front of house needed to be re-clad. Fortunately the sides of the house had real timber weatherboards under the fake vinyl ones so we were able to save most of it (with the exception of some bowed boards being replaced). And due to some structural changes we were going to make inside, we had to re-make the front living room windows and clerestory windows to replace the existing ones due to a structural beam that needed to be added (right where the windows are - scroll down to see our front entry inside as it makes more sense when you see the beam placement). That was heartbreaking and a massive blow to the budget as we hadn’t planned on replacing those.

There was not much of a garden out the front either - a lonely rose bush, and a million and one hexagon pavers (which we later found out were all hand made by a previous owner in the 90s). They weren’t our style and we gave away most of them on marketplace.

AFTER

The whole front needed to be re-clad and we needed something that would be tough and weather resistant. Our home is close to the beach and I wanted to retain that mid-century beach shack vibe by cladding in Linea™ Weatherboards by James Hardie. Painted in Tabumans ‘Crisp White’ it looks so fresh and makes a statement in our street.

Another major change to the home was closing in the ‘carport’ and I use that term losely as you couldn’t actually fit a car in there, and combine it with the front living room (which was formerly used as a bedroom) to create a larger, more usable space. This particular zone was clad in Axon™ Cladding by James Hardie. It’s a VJ style cladding and is super quick to go up, easy to paint and complements the Linea weatherboards with its coastal feel. Our eaves are clad in Hardie™ Groove Lining by James Hardie which again looks like VJ but is exterior grade to hold up to the weather. Believe it or not, this is actually one of my favourite features on the home. When you look outside from the main bedroom and front living room you can see the overhang of the eaves and that VJ just looks so coastal.

Other things we added were a new fence, aggregate driveway, breezeblock screen wall and Milkcan built-in letterbox, along with a cactus garden and brand new turf.

THE COURTYARD

This space looks like a dream and I couldn’t be more happy with it. Obviously breeze blocks were a must for our home, and I’ve always loved the ‘Star’ pattern ones. I sourced mine from The Breeze Block Co, a local company which specialise in breeze blocks. If you’re stumped as to what pattern to use or what it could look like, Candice the co-owner of The Breeze Block Co can actually design it up for you (for an additional fee). I hired Stella Brick and Blocklaying to build my breeze block screen wall along with the custom letterbox with breeze blocks and they did such a great job. I am so happy with how it turned out. I then had the letterbox and columns on the screen wall rendered and painted those in Tint ‘So Fresh and So Clean’. Would you believe I still need to do 1 more coat on these, you can’t tell in the photos luckily!

Now this little open courtyard is a nice spot to sit with an afternoon drink and soak up those garden views! It also looks gorgeous from our main bedroom which overlooks this space. It’s really elevated the way our home feels on the inside (not just the outside). Umbrella, stand and sling chairs from Business & Pleasure Co, pots from The Balcony Garden, side table from Kmart.

‘Halo’ entry door pull in white / Front door painted in Taubmans Silver Leaf and house painted in Taubmans ‘Crisp White’

THE FRONT DOOR

In Palm Springs, colourful doors rule the town, so we wanted to embrace that, and have a little bit of fun with colour for our door. I chose Taubmans ‘Silver Leaf’ for the front door which is a nice soft minty green. The door itself was an inexpensive one from Bunnings. To dress it up I chose a statement door handle (‘Halo’ entry pull) from Lo & Co. It ties in with our whole Palm Springs vibes and I just love it!

THE TILES

Nothing says Palm Springs like a bold patterned tile and for our front entry I wanted something that was a little bit retro and that also matched the colour of our front door. When I couldn’t find anything quite right, I reached out to my friends at Tile Cloud to see if they would be interested in collaborating and creating this fun quarter-circle patterned tile in a matching colour to my door. When they said yes, I was so excited. I had mine laid in an arch shape pattern to create a fun pattern (which also made my tiler’s eyes go cross-eyed after a while haha). The tiles are called the ‘Adore’ tiles from Tile Cloud and they’re suitable for both interior and exterior use. I’m so over the moon with how it turned out - it’s quirky, unique, a little bit retro, and very fitting for our home. The versatility of this tile is endless though and you can create lots of different patterns with the quarter-circle.

THE FRONT ENTRY

Nothing is more quintessentially Palm Springs than an orb pendant light so it was a very obvious choice for us to use this Orb Max XL size pendant from Lighterior in our entrance. It is beautiful - and you can see it through our clerestory windows which also complements the bones of our mid-century home.

Running down the length of our hallway is Surround By Laminex ‘Scallop 135’ panelling. We wanted to add interest to the walls in this space, along with the ceiling (which is clad in VJ panels).

Entry before

Entry after

Higlett House Living Room Reveal

Our living room has been completely transformed into a light and airy space. Here’s the full tour.

Photography Coastpark Creative

BEFORE

We were fortunate enough to have this large living room extension already here (which a previous owner added in the 90s). It was a fairly spacious room however it did feel very divided from our kitchen in the room next door. There were a number of small windows too, and made the whole room feel disconnected from outside. By removing and adding in two sets of stacking sliding doors, we were able to bring the outdoors in and allow so much more natural light in (which is hugely important in any reno). No one dreams of a dark and dingy house do they?

We also connected this space to our kitchen by removing the dividing wall (however this did mean we needed to add a couple of structural beams). The living room was fairly big, so we pinched some of the space in here and added it to our new kitchen. The other half of the kitchen space went to our guest bedroom (we did quite a bit of reshuffling of the floor plan to make it work better).

Our red hardwood floors were also replaced - you can’t really tell but it’s a different looking timber to the rest of the house and because of all of the floor plan changes the best thing to do was completely replace the floorboards and lay new flooring over the top. We chose the ‘Refined Oak’ in Hamptons engineered timber flooring from Carpet Court and it has made such a massive difference to the way the home feels. The red flooring just looked so dark and heavy, whereas our new lighter flooring just makes the home feel more modern and light.

Before living room

Before and After

CURTAINS + BLINDS

Large sliding doors have allowed so much natural light into this space, which is great, however with the room being north facing it can also get very hot. To help diffuse that light and the glare in here, we have installed ‘Tahiti Snow’ sheer curtains from Tuiss Blinds Online. The white curtains go so perfectly with our white walls and VJ ceiling (painted in Tint ‘So Fresh and So Clean’). Not only do they help reduce the glare in the room, they also provide day time privacy. For night time privacy and full blockout and relief from the heat, we have chosen the Moda White electric blockout blinds from Tuiss Blinds Online. I think it’s definitely worth the extra money to have motorised blinds as you can control them easily via a remote control (plus no unsightly beaded cords). The ones I have also have the ability to be programmed with the SmartView App, allowing you to control the light effortlessly from anywhere in your home with a touch of your phone’s screen.

FURNISHINGS

I was fairly deliberate in the furniture I selected in terms of scale. I didn’t want ultra bulky furniture so chose a more slimline style sofa from Life Interiors. This is the ‘Bronte’ three seater sofa in an off-white colour. I love the timber leg detail on this one! Plus it’s super comfortable and you can tell the quality of it is great too.

In the corner of the room we have a gorgeous boucle and rattan armchair from Bay Gallery Furniture. This style is called the ‘Kilara’ and it ties in so well with our bar stools from Life Interiors and our coffee table. I love sitting in this armchair, it’s the perfect spot to relax in the afternoon.

Our ‘Lauria’ coffee table is also quite narrow and streamlined, this one is a cheapie from Lifely. I will say this though, the first one arrived damaged and they replaced it with another one that was damaged in the same spot, so I can’t really say I recommend this piece (although it does look nice apart from that fact).

STYLING

I love to style with foliage, flowers and plants and I’ve used all three in this room. The fiddle leaf fig tree adds a lot of life to the space and I think it will be pretty happy in that corner by the doors.

I think rugs really help to define spaces and on the floor in our living room we have used the ‘Rolini’ rug from Miss Amara. It’s made from wool, it’s super soft and I just love the geometric pattern. It has a little bit of a retro feel and a perfect fit for in here.