My front yard makeover reveal

It’s with great pride that I reveal the very last space of our house to be renovated - the front yard! We have officially finished the house now, and I’m so thrilled with this little oasis which we’ve created.
Photography Coast Park Creative

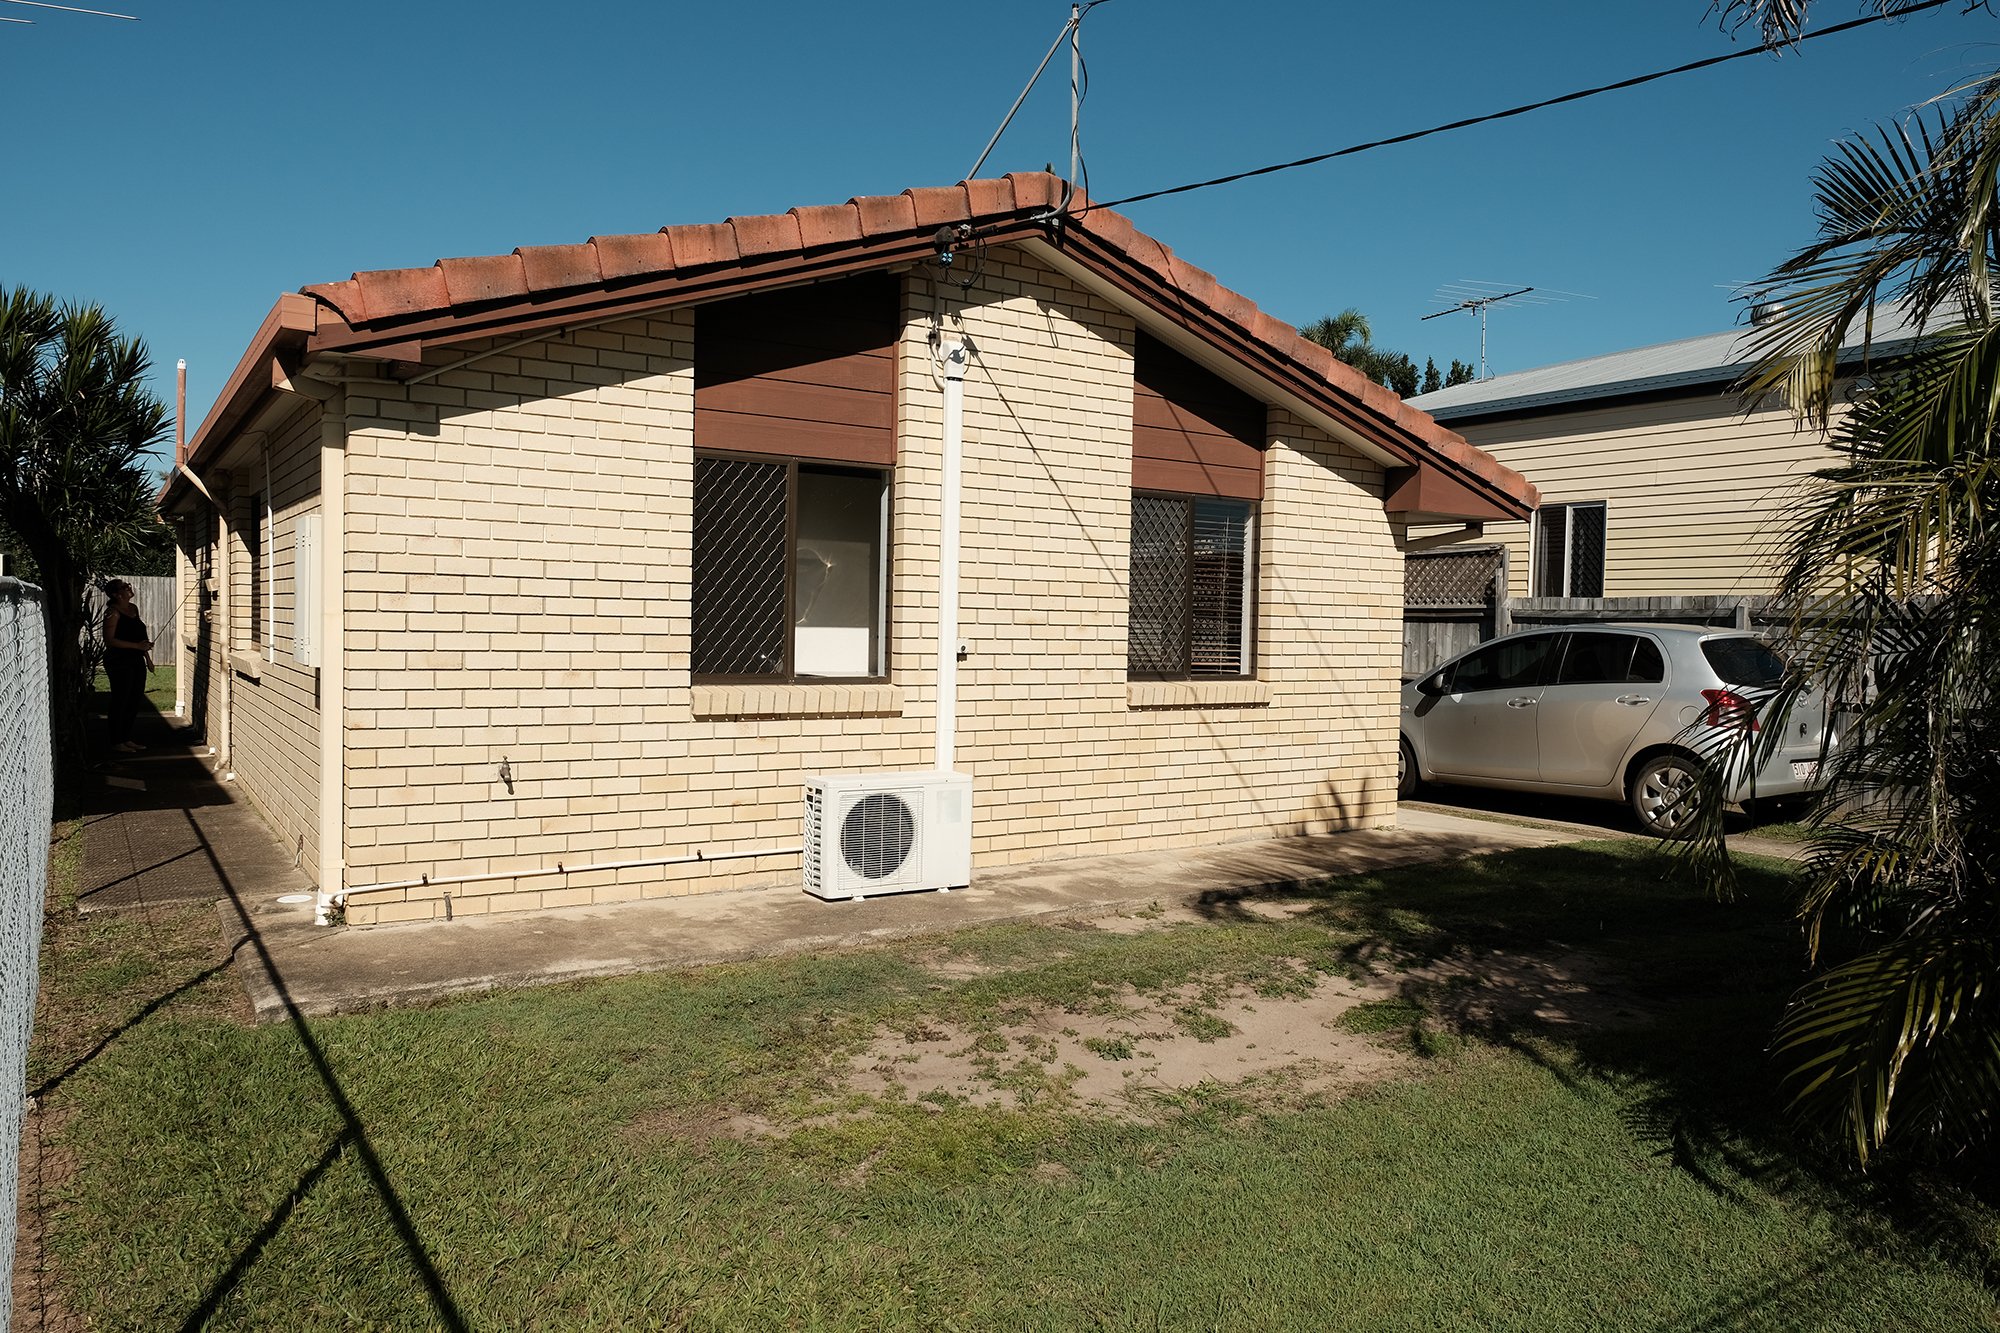
BEFORE + THE VISION
As you can see from above, the before was pretty woeful. We started with a humble brick abode with patchy grass and have turned it into a white weatherboard home complete with a lush courtyard perfect for entertaining. The vision was to create something that felt quintessentially coastal whilst also maximising every inch of space. In total our front yard (excluding the carport next to it) is 49m2. Previously this was wasted space, but I always imagined from the get-go, how great it would be to open up the front of the house onto a large deck (straight off the kitchen).

Outdoor table and bench seats are old from Early Settler - click here for something similar
DECK
I wanted something low-maintenance for our decking and decided to go with a composite decking board from Ekodeck. I ordered a free sample pack from their website and deliberated over which colour to get. In the end I narrowed it down between Ironwood and Backbeach and went with Ironwood from the Ekodeck+ Designer Series. It’s a charcoal colour and does change colour in the light; in shade it looks darker, in full sun conditions it looks a lot lighter. I think it works so well with our roof colour - it’s a great match with Colorbond Monument. I’m so happy with it, it’s a little hot underfoot in full sun (but that’s what shoes are for haha) and the prospect of no sanding, oiling or staining really appeals to me. It’s easy to clean too!
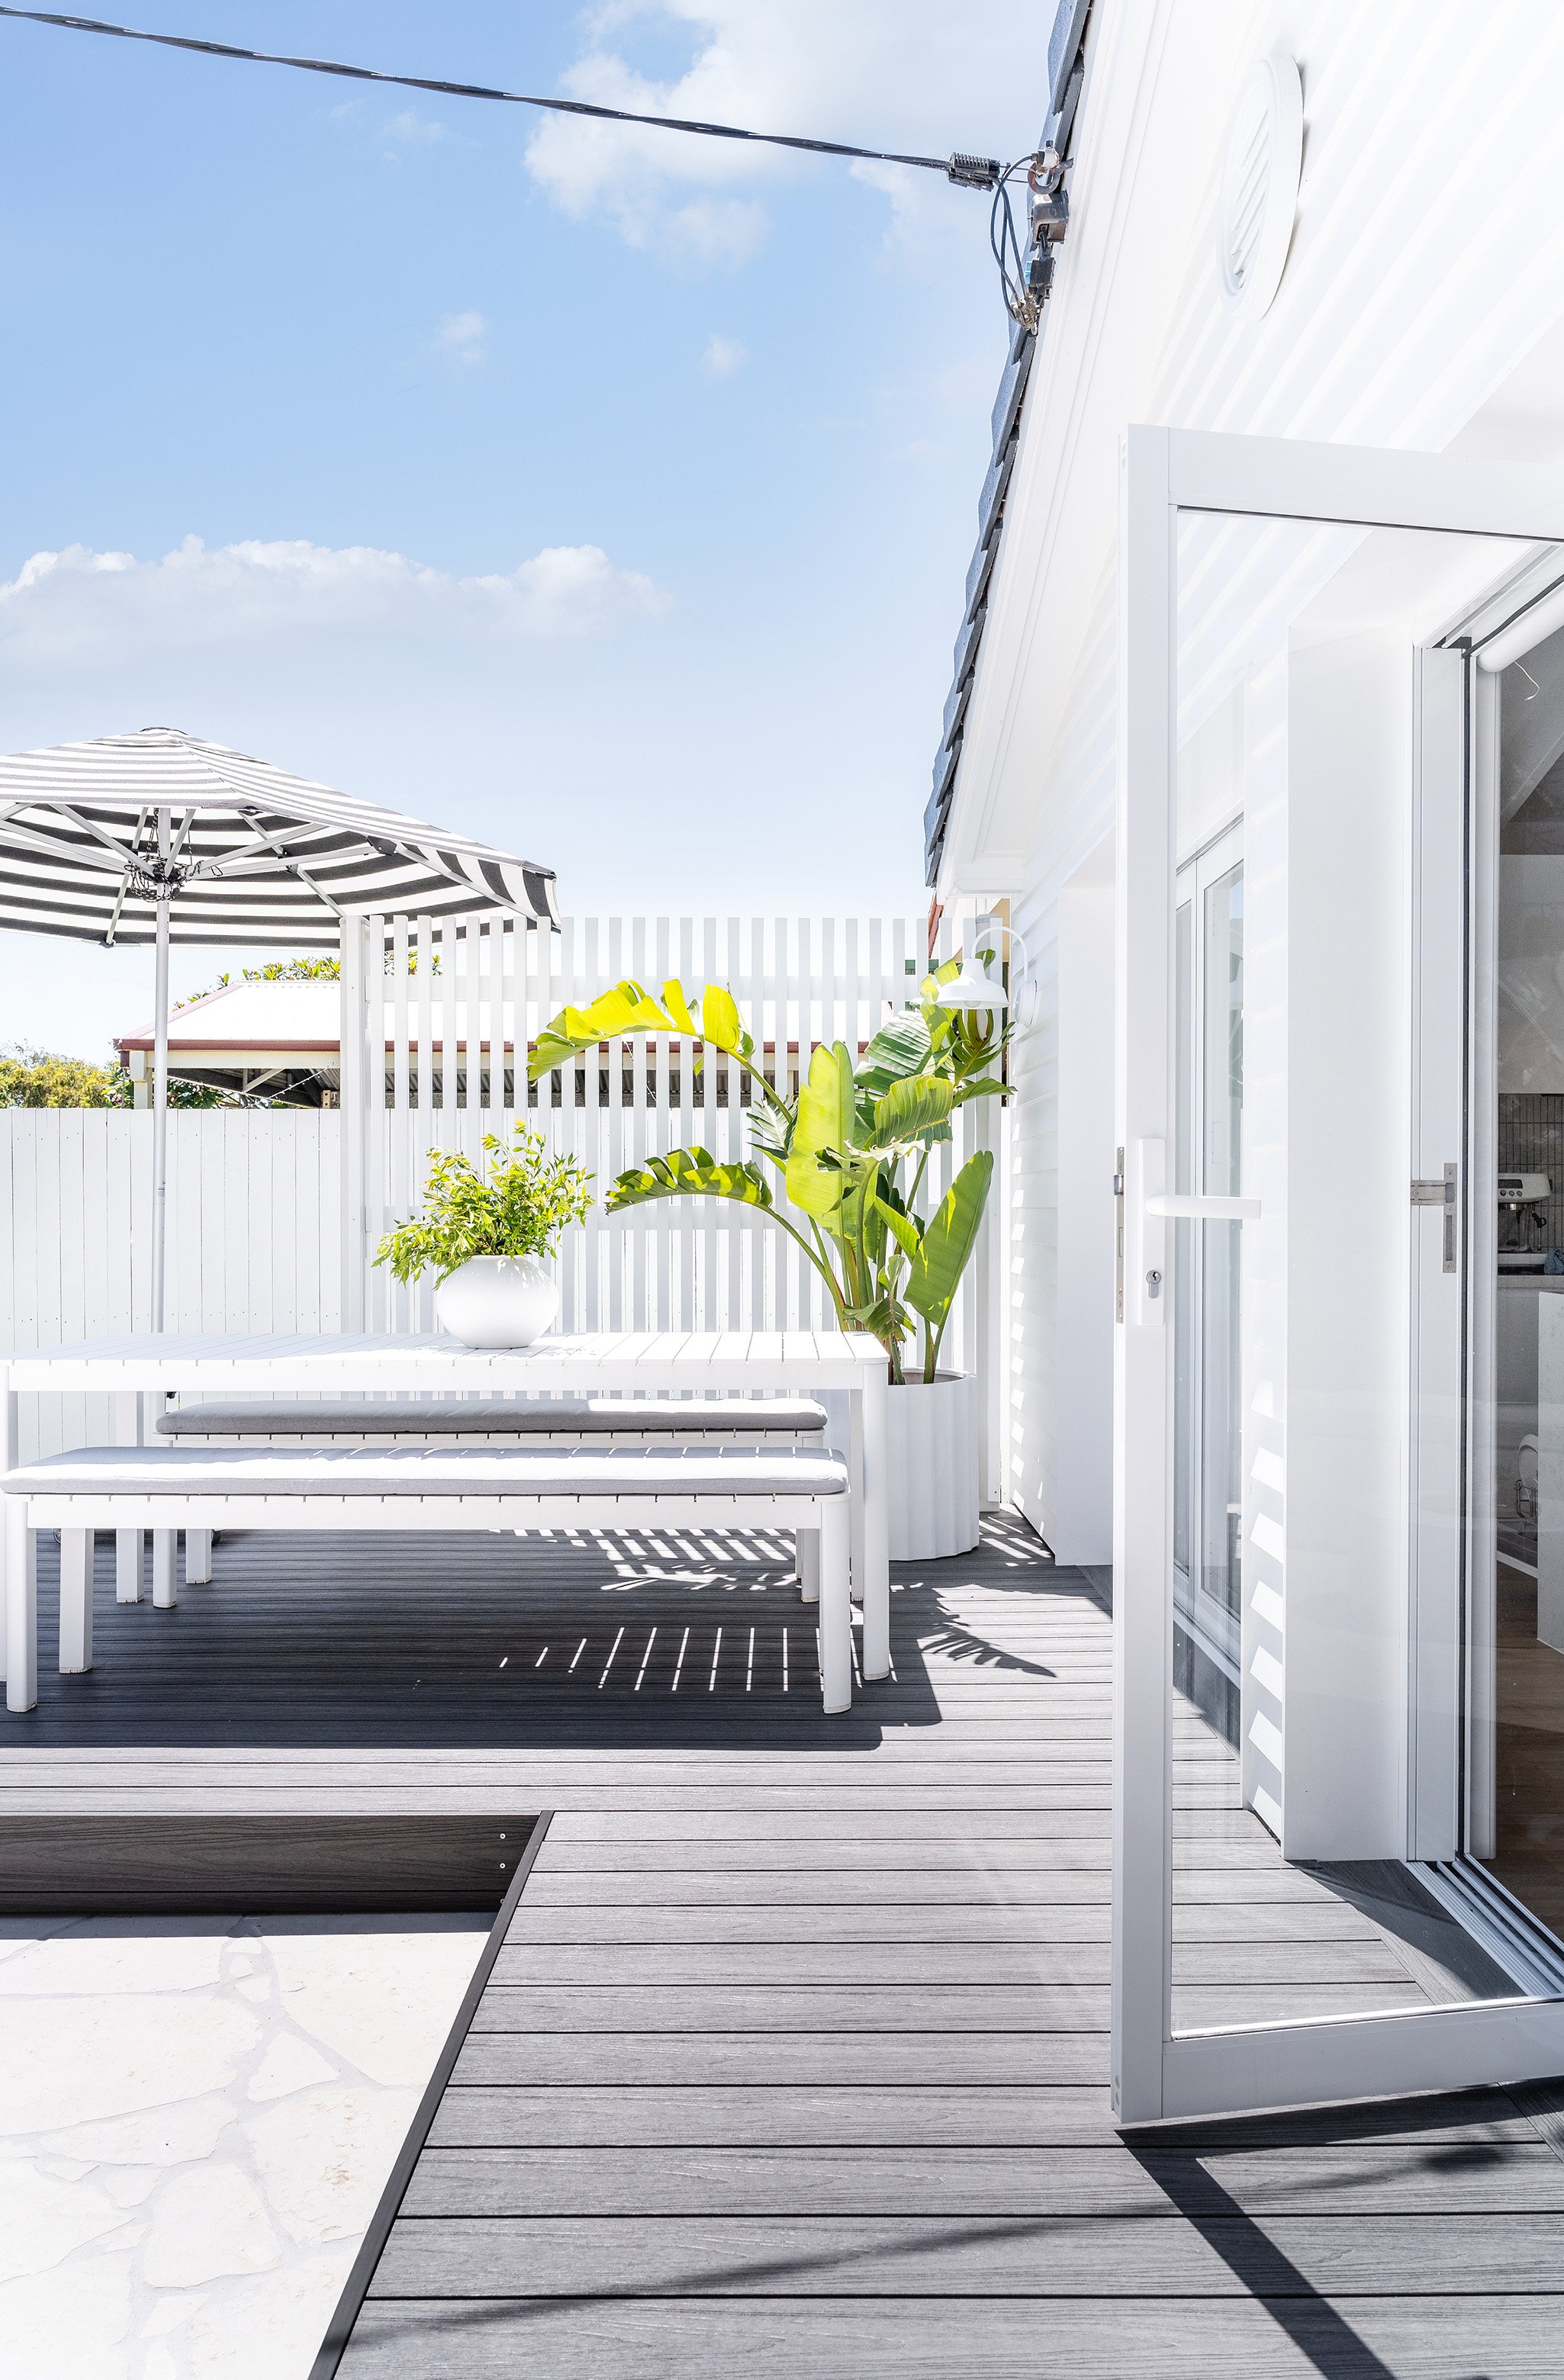

In the front garden we have planted Nicolai Strelitzias in ‘Straight Up’ pots from The Balcony Garden
POTS
All of the white pots you see in this space are from The Balcony Garden. They’re the only company I get my pots from - they’re tough, light-weight and have the most slick designs. On the deck I’ve used the ‘Ripple’ pot, the ribbed detail is so on trend! In the front part of the garden we’ve teamed three large ‘Straight Up’ pots with Nicolai Strelitzia. The reason being, their root system is invasive, so we didn’t want to plant them directly into the ground being so close to the fence, water pipes and new carport. For the most part it’s worked well, however I will disclose we’ve had some drainage issues with the last pot (more so a waterlogged soil issue underneath the pot) and the plant is struggling. That’s gardening for you though. I’ll remove this pot soon and place it around the back so it can recover. These plants don’t love full sun, I think they’re better partially shaded so I just wanted to give that heads up to anyone considering them. But I just love the look of them - they give that holiday feeling I was so desperately craving out here.
In my eyes gardens are always evolving, and if something doesn’t work, you change or move things around til they do work. So both of these pots might actually be moved elsewhere into a more shaded spot and I’ll most likely do an update on this once it’s all done and dusted.

BENCH SEAT
I was heavily inspired by @geebungalow’s own courtyard space with a rendered, built-in bench seat so decided to also add one in our front yard. I even got the same outdoor cushions as hers and made our bench seat to fit them perfectly (2.5m x 2.5m outer lengths of the bench seat and 62cm deep). We used the Froson/Duvholmen seat cushions in beige. I have taken a cheeky afternoon nap out here on the bench seat and I have to say it’s super comfortable, plus these seat cushions are a lot cheaper than going the custom-made route.


FURNITURE
I searched high and low for the perfect outdoor coffee and side tables, when someone on Instagram suggested P&R Styling I knew I found the perfect ones. I have the oversized terrazzo coffee table and log side table. They have a variety of finishes too – pure white concrete, mauve speckle, sand speckle and grey speckle – I went with the grey one and love it! It’s super neutral, and that little grey terrazzo fleck ties in with the light grey grout on our crazy paving.
Our outdoor table is an old set from Early Settler which is no longer in stock. They have a similar style called the Mace dining table and bench seats, however it’s longer in length than mine.
As we’re north-facing it gets very hot out here so a large umbrella was a must. I bought my ‘Go Large’ 2.8m umbrella from Basil Bangs (along with the umbrella stand on wheels), it makes moving it around a total breeze. Basil Bangs’ umbrellas are always used in commercial venues, because they’re the highest standard. They may cost a bit more, but are made to last and totally worth the investment in my opinion.

Sapphire Buffalo turf / Plants in pots to the left Euphorbia and Bouginvillea.
CRAZY PAVING
I wanted to have two zones within our front yard, a dining area on the deck and opposite an area that’s more for lounging. When our carport slab was being poured I organised in advance for the area adjacent to also be concreted to provide a flat base for our paving. At the time I wasn’t sure if we would use a stone or use a tile, so a concrete slab was a safe option for either one. I went with a real stone – a limestone called Tunisian Pearl crazy paving from Stone Style. It comes roughly broken up, however some of the pieces were really large so we smashed some of these into smaller pieces. It’s a very soft, brittle stone so it does break easily. My favourite areas of the crazy paving are the larger pieces so if we were to do it again, I would make sure to keep as much larger pieces as possible as opposed to smashing them into smaller sizes. This also means a bit less work when gluing them down.
We laid the crazy paving ourselves, and were we crazy for doing so? 100% yes haha. But looking back on it, it was totally worth the struggle because it looks amazing and we can proudly say, hey we did that! For those wanting to know grout colour - we used Ardex WJ50 grout (suitable for thick lines like ours) in light grey. I really wanted to use white, but the guy at the tile shop advised not to do it if it’s in full sun due to the white grout yellowing.
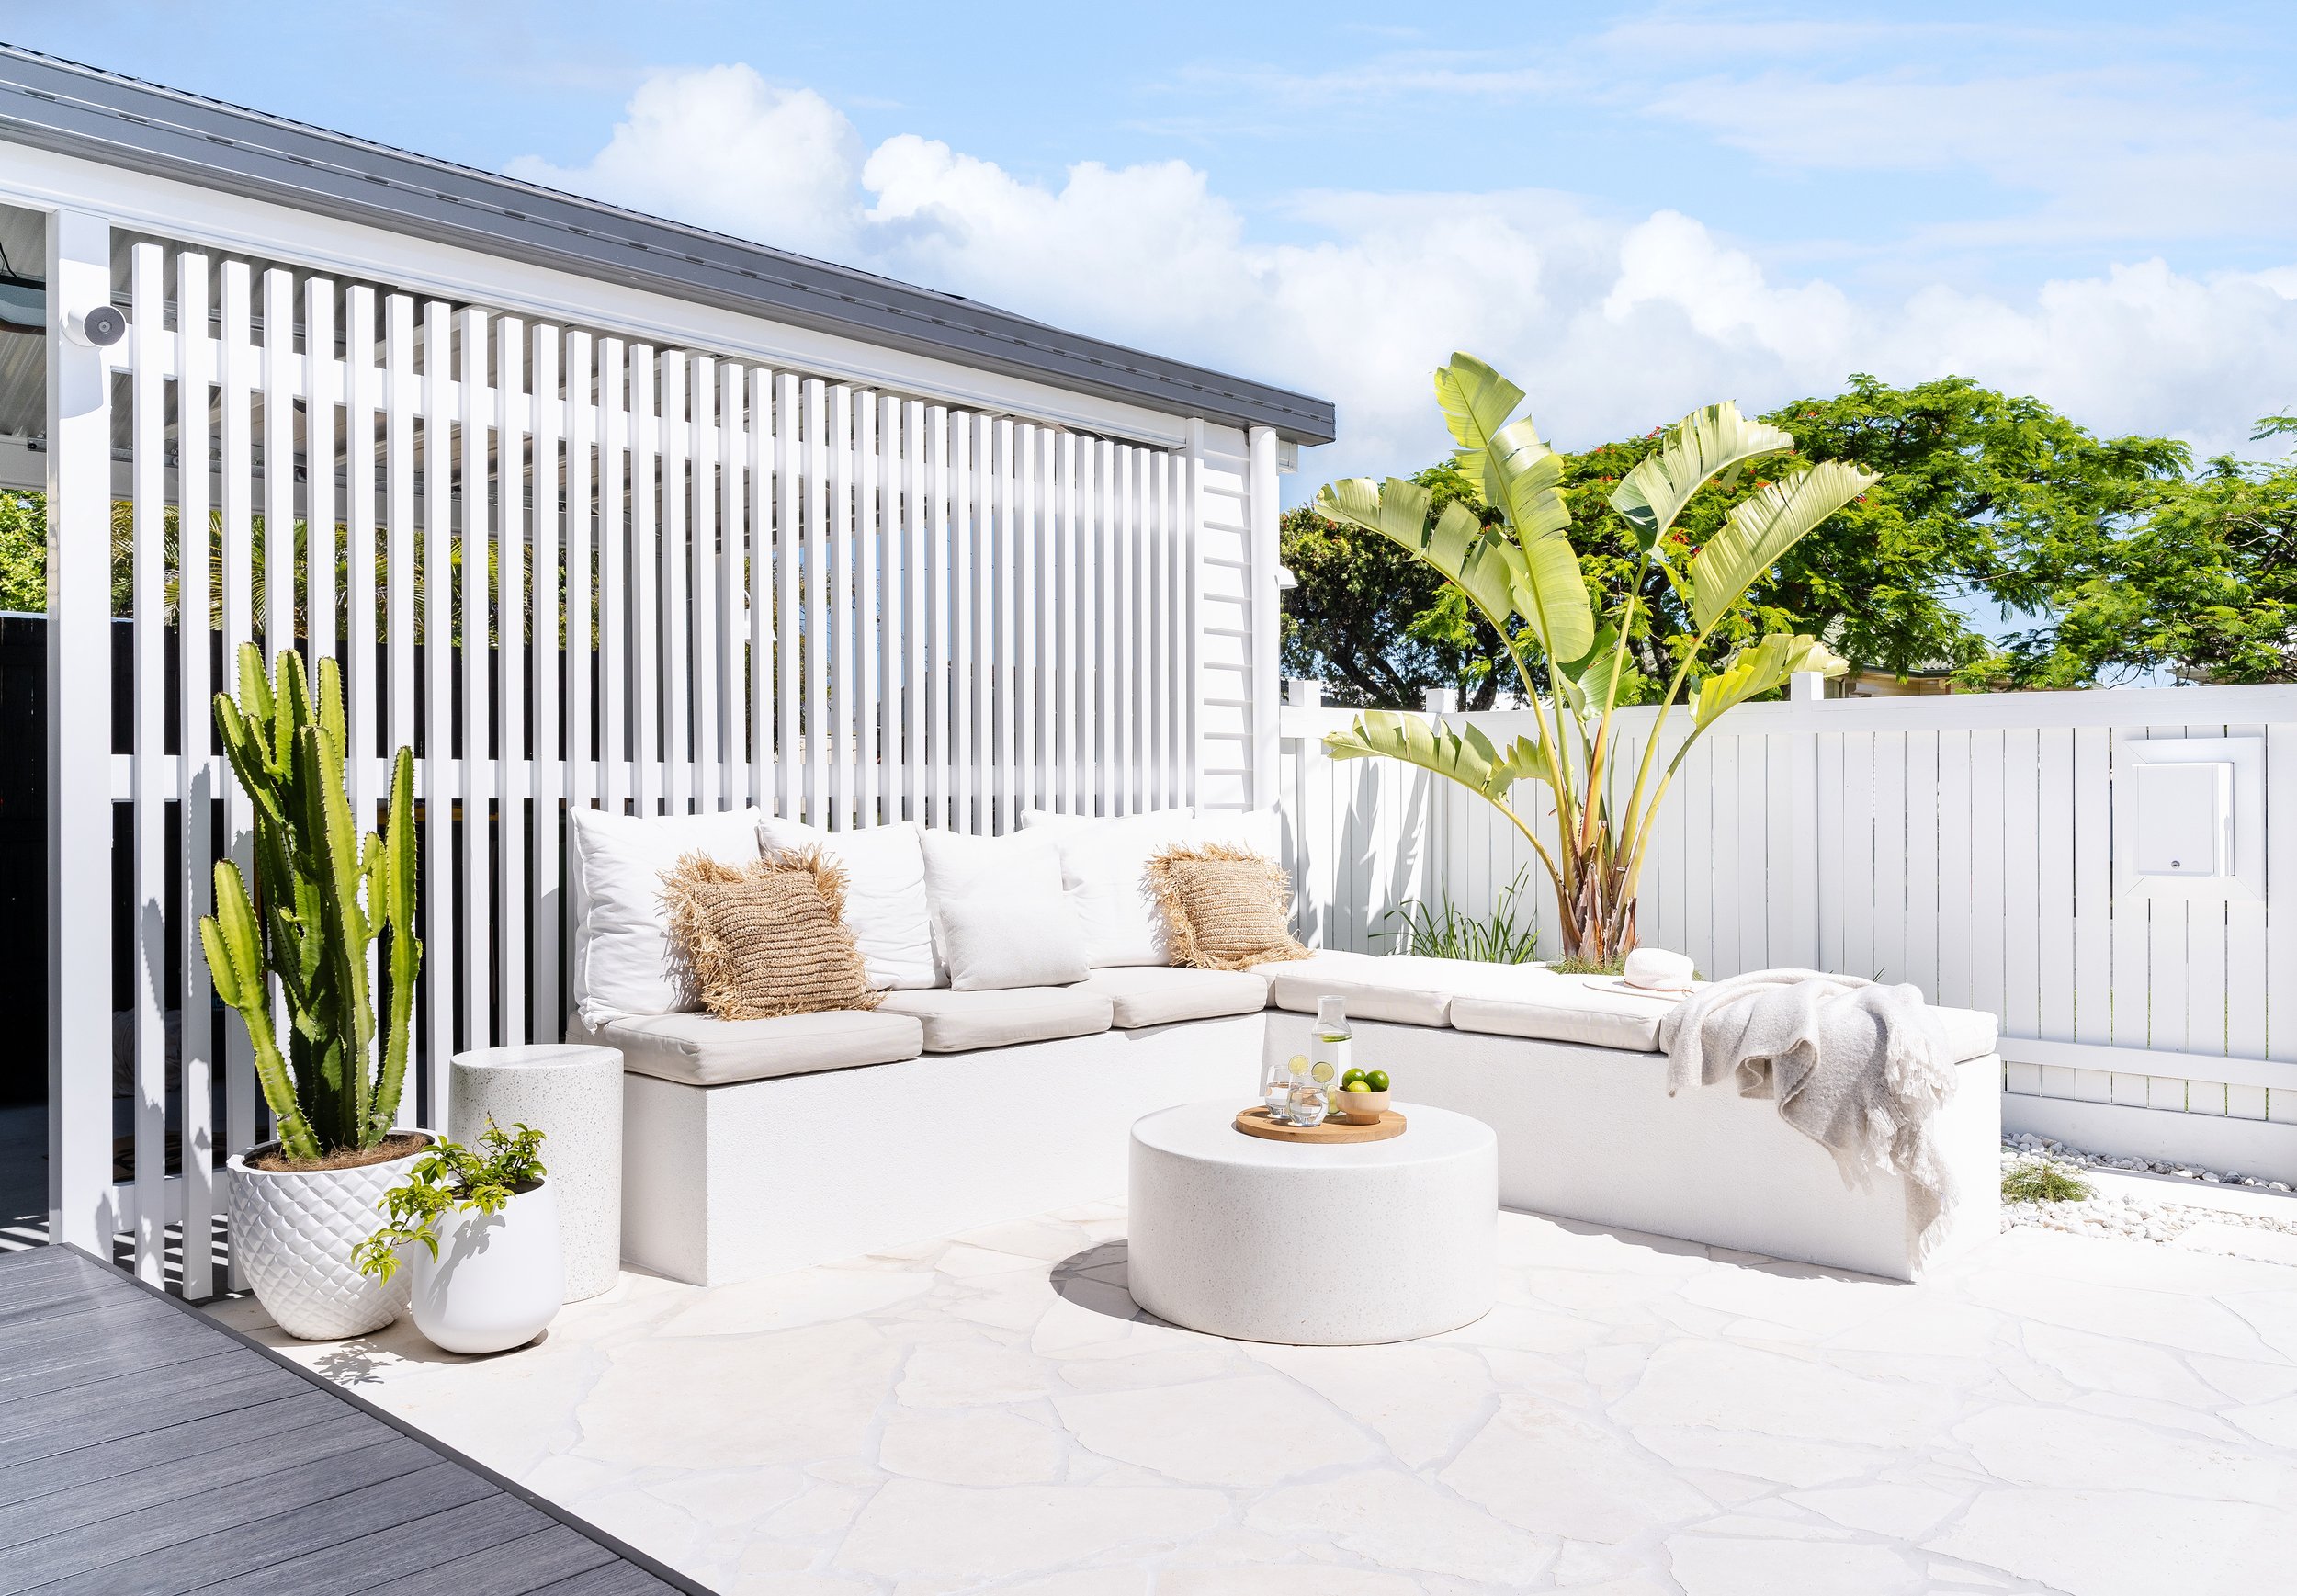

PRIVACY & SECURITY
For privacy out here, I’ve used 40x40mm timber pre-primed battens to create a privacy screen for the side of the carport (shown above) and for the side of our deck. I wanted something clean and simple looking, that didn’t detract from the overall space’s white aesthetic. I had a carpenter build this for me. I had to paint all of the battens first, he cut them all to size and then I painted them before he attached them. The reason for that, is that it’s very hard to paint once they’re up (getting in on the sides of them). Pre-primed timber might cost you more, but it’s so smooth, once painted people think it’s aluminium.
For security we have chosen the Google Nest Cam - it’s battery operated so no need to hard wire it in. Although you can get an optional power cord to plug it in to save you from recharging the battery. We love that if someone comes in to the courtyard whilst we are out, we can communicate with them - this is particularly handy with courier drivers and we can just ask them to leave the parcel at the door or around the back of house. We have it set up so it alerts us on our mobile phone, any time it spots a person out there. The whole thing is magnetic so we’ve just simply placed it on our aluminium post of the carport without having to drill a single hole! Brilliant! Oh and did I mention it looks good too - nice and discreet.

