DIY IKEA CANE SIDEBOARD

For my first attempt at a DIY piece of furniture I’m pretty chuffed with the end result. See how I turned two simple pine ‘Ivar’ cabinets from IKEA into a stylish sideboard for my home office.
Photography Mark Zeidler

First off, I recommend reading through all of these steps and then go and watch all of Adore Magazine’s instagram saved highlight (in our bio) called ‘DIY Sideboard’. Watching my videos will make some of these steps a lot clearer as I can go into more detail there. Also if you have children, you’ll want to secure this piece of furniture to the wall so it doesn’t topple over.


1 ASSEMBLE SIDEBOARD
Assemble the two Ivar sideboards as per IKEA’s instructions, but leave the door fronts off. Leave these aside for now.
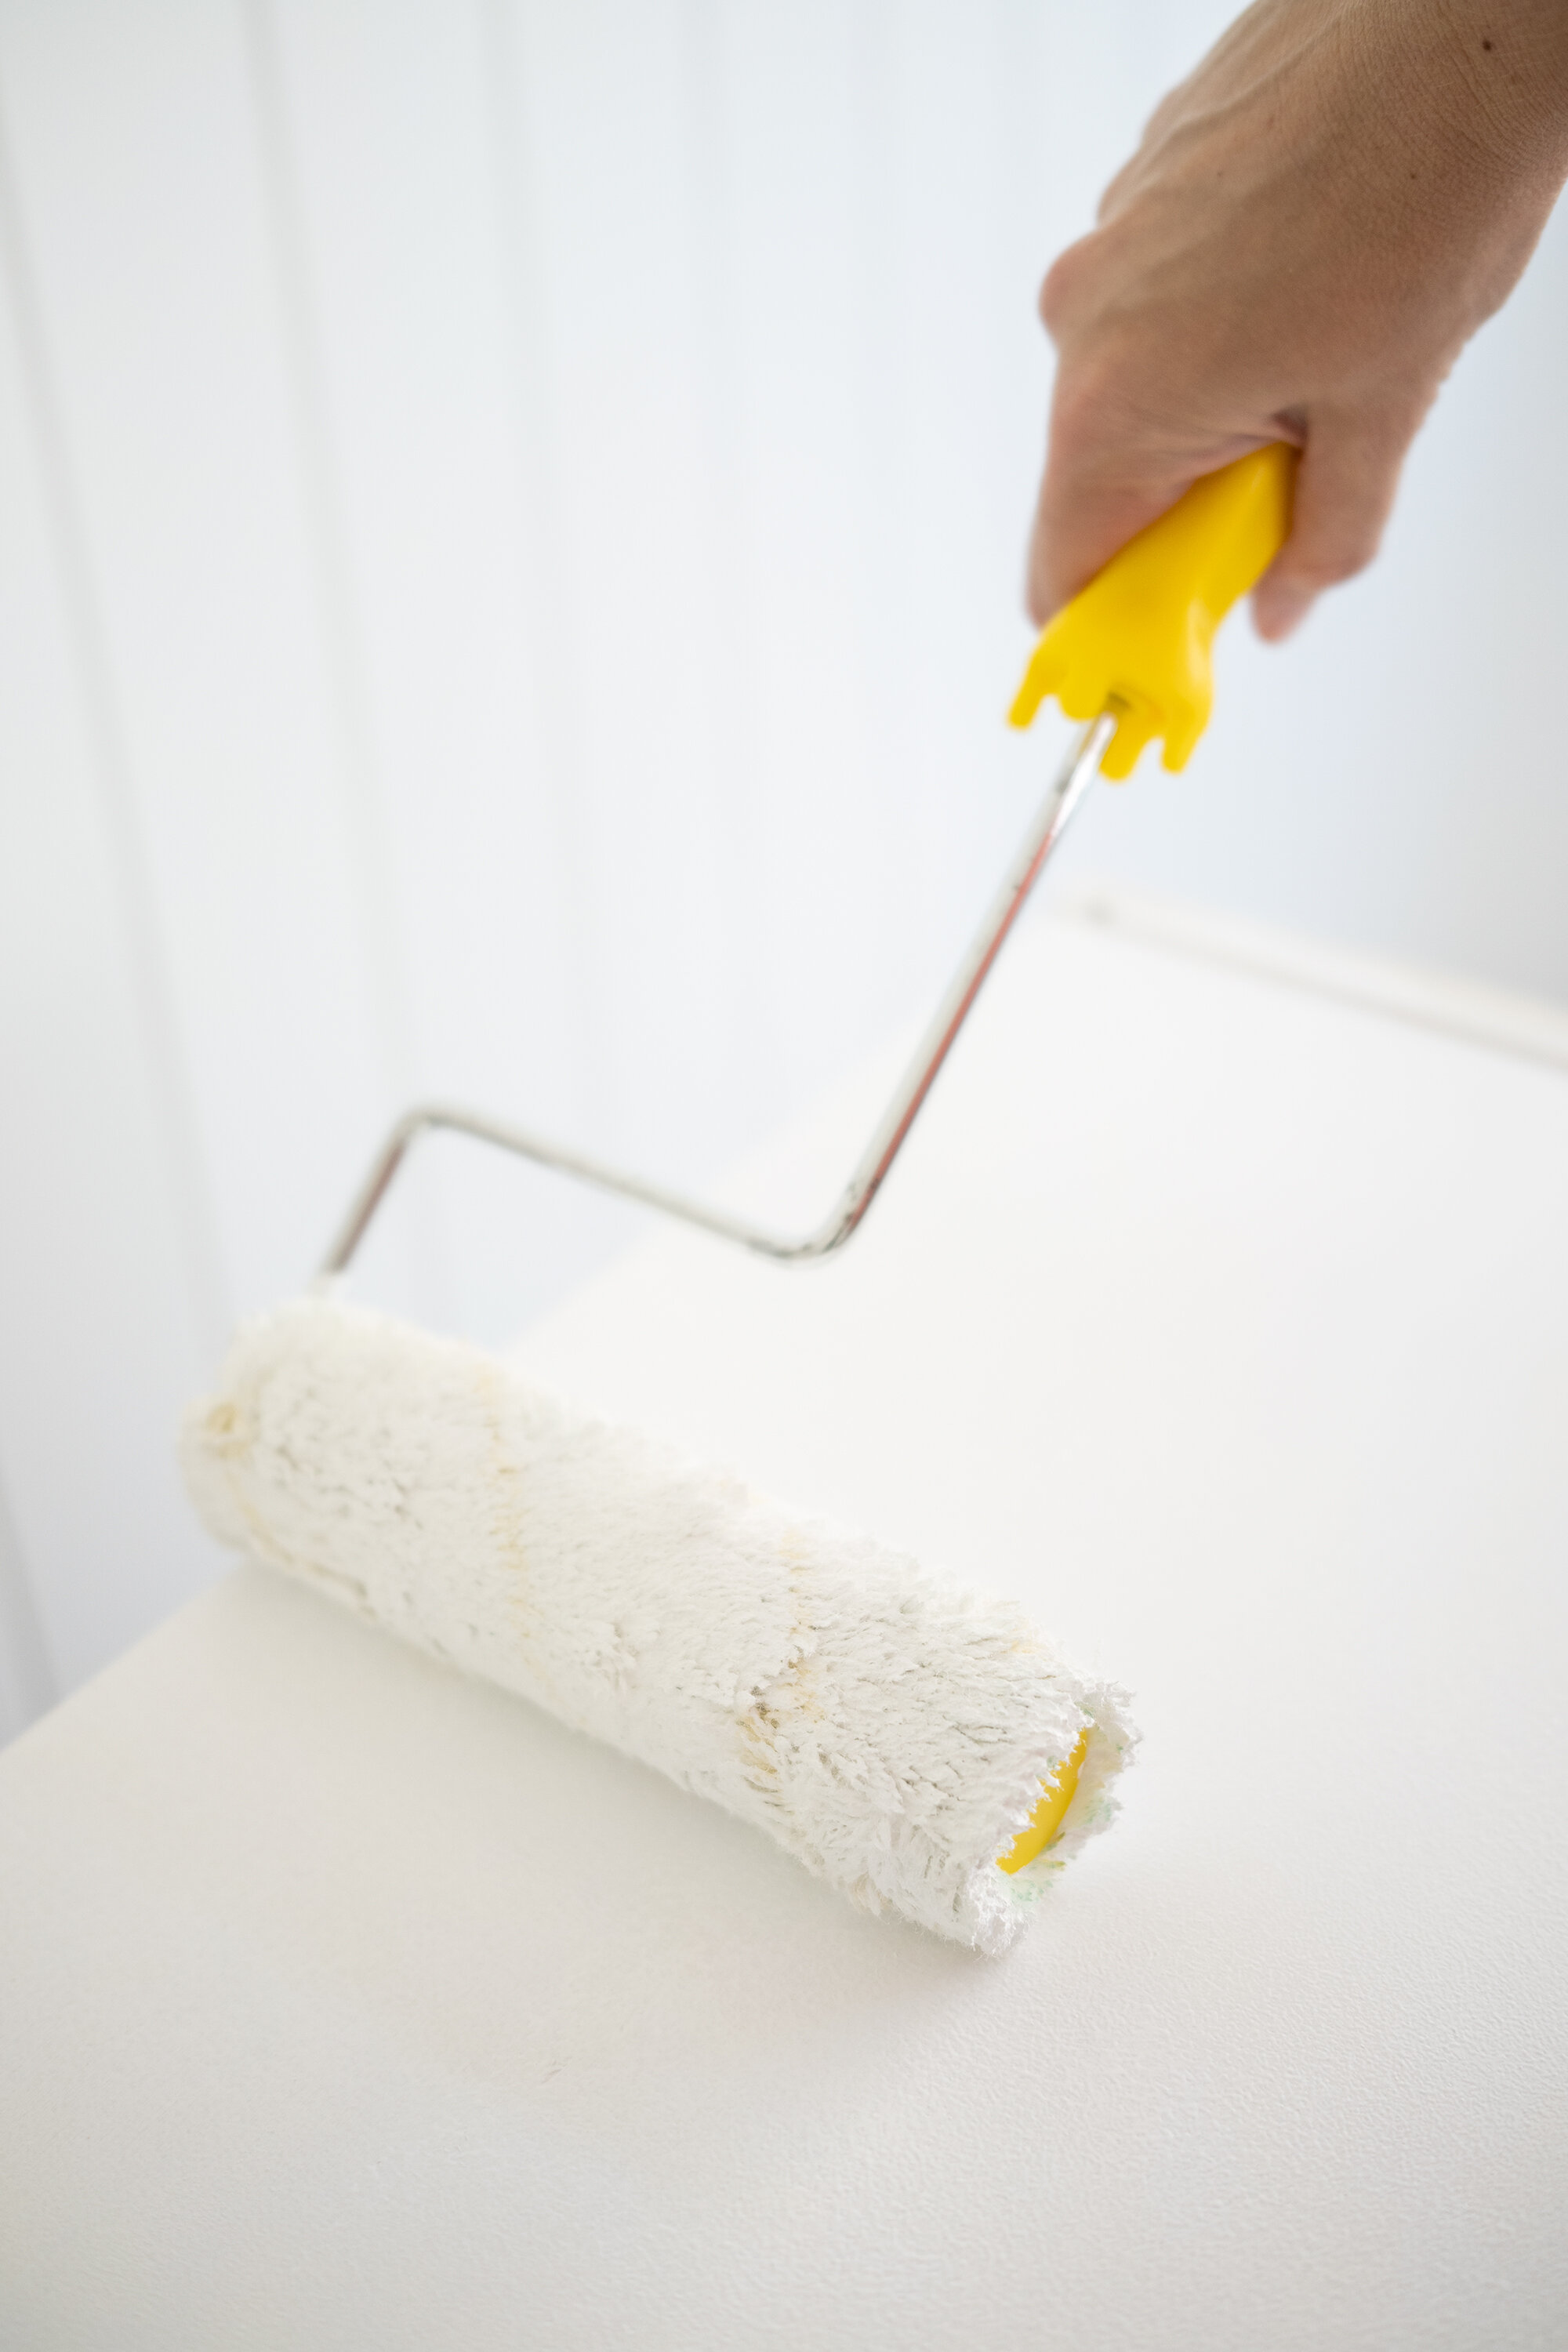
2 PAINT THE SIDEBOARD
First use an oil-based primer to paint the sideboard sides and top (please note you don’t have to paint the top if you choose to put a piece of timber or other material on top at the last stage). Why use oil-based primer? Because there are knots in the timber and this can bleed through your paint which isn’t a good look. Let the oil-based coat dry at least 48 hours before painting the next coats. I used Dulux Wash & Wear ‘Vivid White’ low-sheen paint which I had leftover from painting my home office. That way it matched the walls perfectly. I did two coats. You’ll also need to paint the door lips (where you open the cupboard) white as well. You can use tape to give you a straight edge.
3 PREPARE THE PANELS
I purchased 4 panels of 67 x 11mm wide straight edge skirting from Bunnings, to use as my border panels for the door fronts. You can cut the panels yourself if you have a mitre saw. I didn’t, so asked someone in the trade section at Bunnings to cut these to the sizes I needed. You’ll need the following sizes cut: 8x 383mm length and 8x 686mm length pieces. If you’re going to push two sideboards together like me, you’ll also need to cut 1 additional piece that is 840mm in length.
They come primed so you just need to give them a couple of coats of paint. Again, I’ve used Dulux Vivid White low-sheen paint. Paint the fronts and all sides with a roller. You can lightly sand also in between coats.

4 STAPLE GUN THE CANE TO DOOR FRONTS
I purchased 2 metres of natural open weave cane webbing (in the 600mm width) from House of Bamboo. I had ordered samples first, and loved the natural look teamed with the pine timber door fronts. However after I ordered, when it arrived, it wasn’t like the sample. Instead there were heaps of green tinges through it on the front/varnished side. To solve this problem I flipped it over and used the raw side as it looked way better.
Cut your cane in half (long-ways) and then cut down into 2 pieces about 760mm in length and 30mm in width. Next, and I can’t stress this enough – you need to soak the cane in warm water for 30 minutes (it’s ok if it’s just rolled up and you put in a laundry tub). I had used heavy books to try to flatten it and thought that did the trick, but noticed that the rattan kind of looked a bit bubbly (not sitting flat) after stapling it on and leaving it overnight. So for my last panel I soaked the cane. I should have listened to all my followers on Instagram who suggested it, but me being lazy thought I could bypass this crucial step. Big mistake haha! I did soak one, and it sits perfectly. Now, after you’ve soaked, pull it out, place it on a towel and pat it dry so that it’s only slightly damp. Then you want to work with it and staple to the front of your door fronts pulling it as tightly as you can, and stapling evenly around the sides. So put a couple in at the bottom, then a couple in at the top, then a couple on each side and follow that order until it’s all pulled tightly and finished. Don’t be stingy on the staples - use lots!

5 GLUE AND CLAMP THE PANELS ON
Next you want to use liquid nails to glue your panels onto the door fronts as a border. Apply the liquid nails with a caulking gun in a squiggle shape – don’t be scared to get plenty of glue on each piece. You need to work quickly as the liquid nails dry quick. Start by placing your top piece on the door, then your side pieces and then your bottom piece. Have little pieces of cloth cut in advance (you’ll need 8 for each door) and then put them down where you’re going to clamp (doing this stops the clamps from ripping the paint off the panels). Be sure to push the pieces all tightly together to eliminate gaps and if the panels start moving around remove clamp, move the panels back into place and then clamp again - don’t be scared to try clamping in different positions to make sure it sits flat (you’ll see what I mean when you start this process). You want to keep monitoring it to make sure it’s sitting fairly flat as they can move a bit. Leave it overnight (or approx 8 hours) before unclamping. I did one door at a time as I only had bought 8 clamps.

6 SAND + NO MORE GAPS
If you do end up with panel pieces not sitting flush with each other, or big gaps (like I had on some of my doors), simply sand it back to make it smooth and then use no more gaps to close any spaces up. Then cover up your cane on the doors with an old rag and repaint just the door panel fronts. You’ll most likely also need to use no more gaps on the sides and tops where the panel sits on the door to close up the gaps. It’s worthwhile also hitting the sides and tops with your paint roller again.
7 FINISHING TOUCHES
If you’re putting your sideboard onto carpet the doors drag, and are hard to open – so you’ll want to add legs to your piece of furniture or a plinth (something to sit it on to elevate it slightly). I have taken out two of the shelves that the cabinets come with, and placed both sideboards on one each (this isn’t entirely sturdy but once I’ve filled it with heavy stuff it doesn’t seem to move – if you have small kids don’t do this or secure it to the wall!).
Next you’re ready to attach the doors to the sideboards. Because the door fronts are now extra thick, you can’t have two sideboards pushed together without the doors hitting each other when opening up. So to avoid this, cut another piece of skirting to size (so that it sits between the two sideboards). You could attach it to one side with nails, I just left mine in loosely and then pushed the sideboards together with that in between. It acts as a buffer between the two and also means you don’t have a big unsightly gap. I finished off my sideboard with a piece of laminated pine timber from Bunnings (which I had cut to size). I’ve left it raw for now, however I’m tempted to paint it white.


Overall I’m happy with how it turned out and for just a little over $500 in total, it was a fairly budget-friendly piece of furniture. Buying something like this in a store, and similar in size would have cost me well over $2,000. But it was a lot of effort, and it seemed to be the project that kept on going because of problem after problem. If I could do it all again, I would try to have more patience and not try to rush things (as that’s when mistakes were made). And definitely would have soaked all of the pieces of cane – my number one mistake was not doing them all from the start.