

Welcome to our backyard and back of house exterior reveal! This has been a long time coming as we began the backyard landscaping almost as soon as we got the keys. Over a year of growth on, and this space is now a lush oasis.
Photography Coastpark Creative

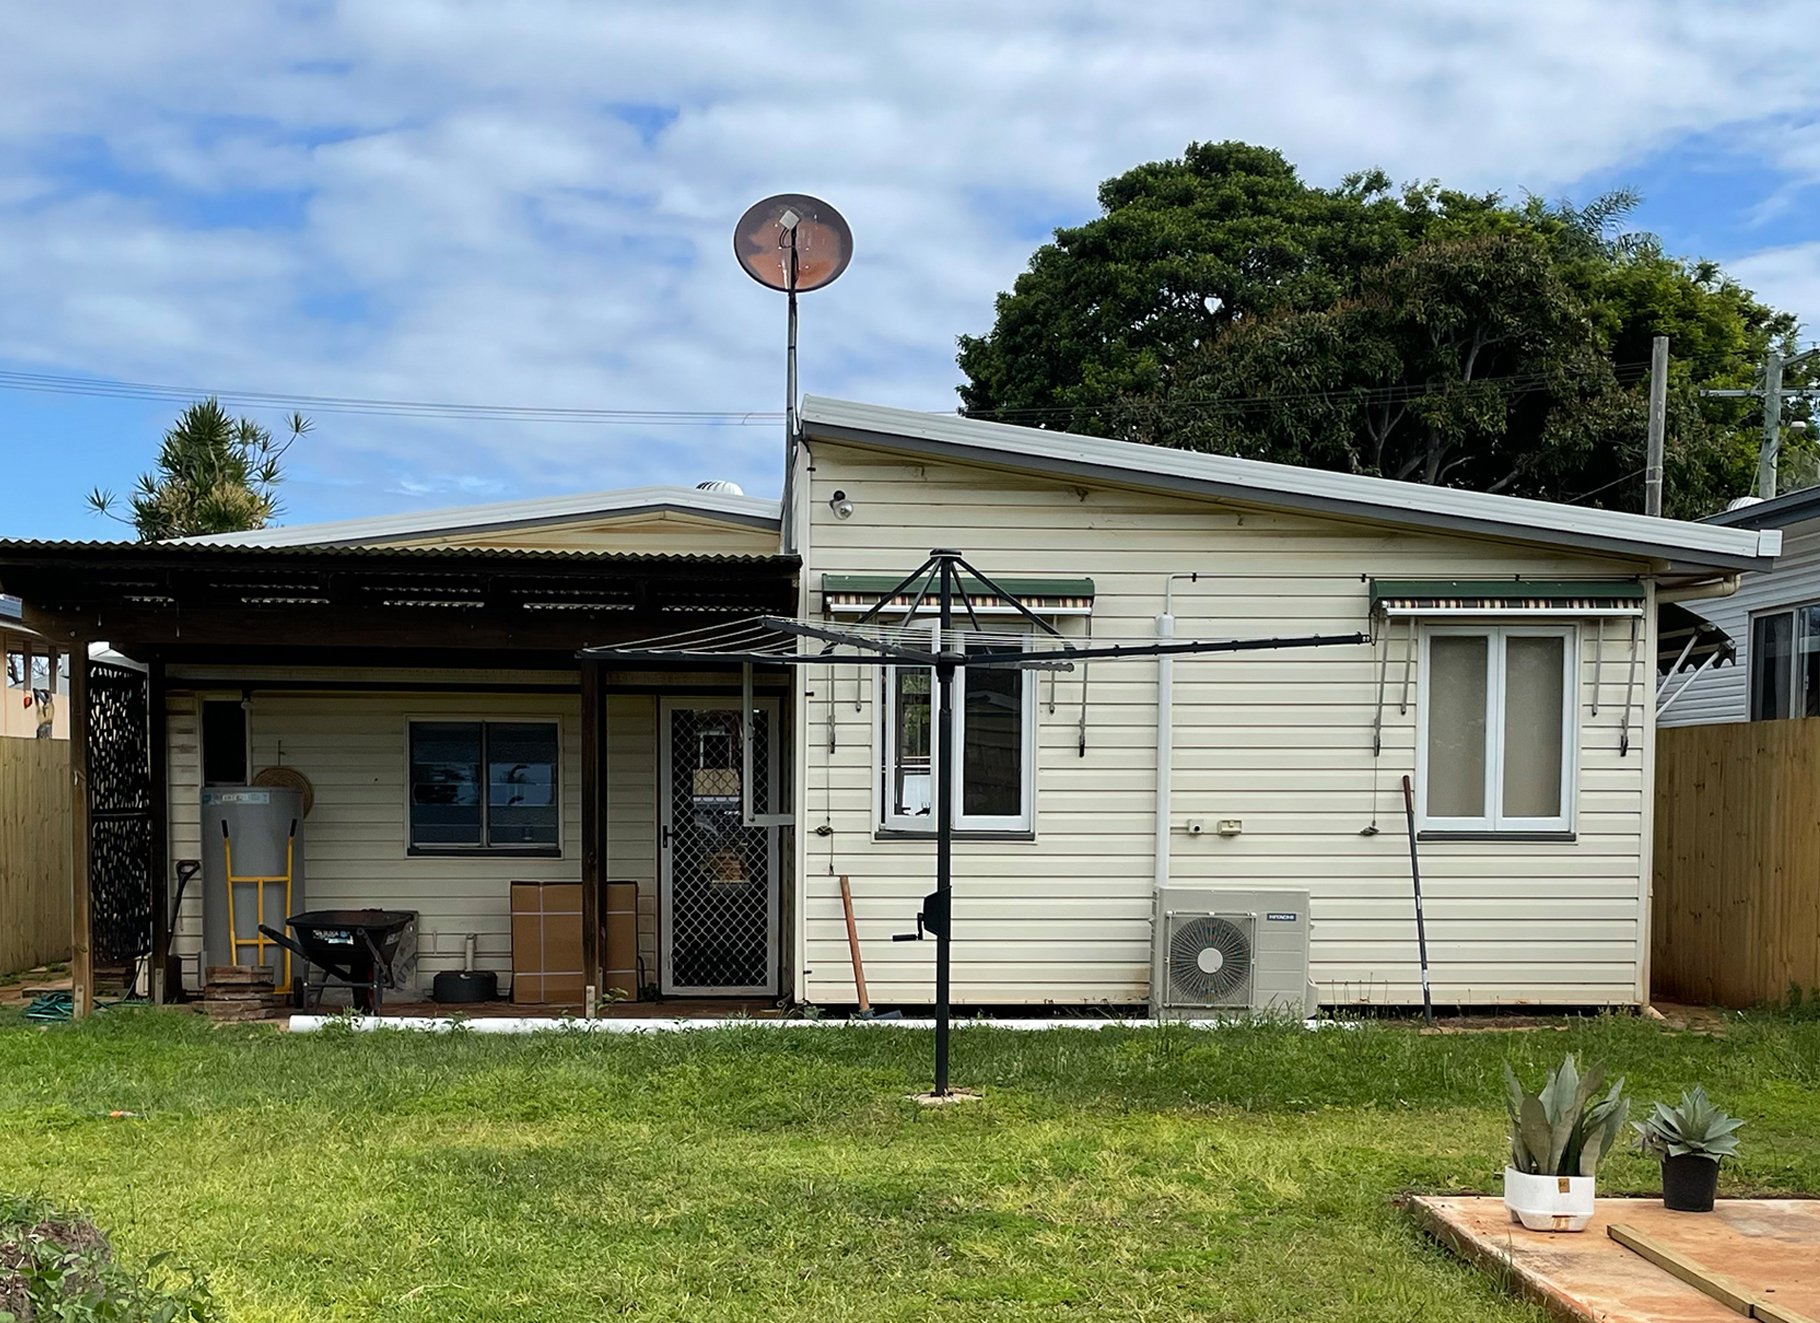
before
Let’s start with the back exterior and what it used to look like. There was a tacked on laundry addition that looked completely out of sync with the rest of the home’s architecture (no doubt added later on). You had to step down into the laundry and I absolutely hated being down there. We could relocate the laundry into our new kitchen layout so it was a non-issue to remove this area. The longer part of the home was actually an extension added in the 90s by a previous owner. Its roof line didn’t actually meet with the highest peak of the original home’s roofline, so it always looked a bit odd.
So here’s what we did… We removed the laundry and pergola first (oh and all of those hexagon pavers). Instantly this alone made such a difference to the way the home felt. We replaced the previous doorway that led into the laundry with a narrow fixed window to allow natural light into the hallway.


Then we had the plastic vinyl cladding removed (yes it looks like weatherboards - but it was actually plastic covering up real timber weatherboards). I can understand why the previous owner chose to do this as the weatherboards were painted in lead paint and flaking. Some of the boards were also rotten. So all of this was stripped back to the studs. New white stacking sliding doors were installed to replace the pokey windows which has given us that indoor/outdoor connection that we craved. It has also flooded this space with lots of natural light. We purchased the sliding doors from Window Warehouse in Mt Gravatt (Brisbane). I always recommend them to fellow renovators as their prices can’t be beat and the quality is excellent.
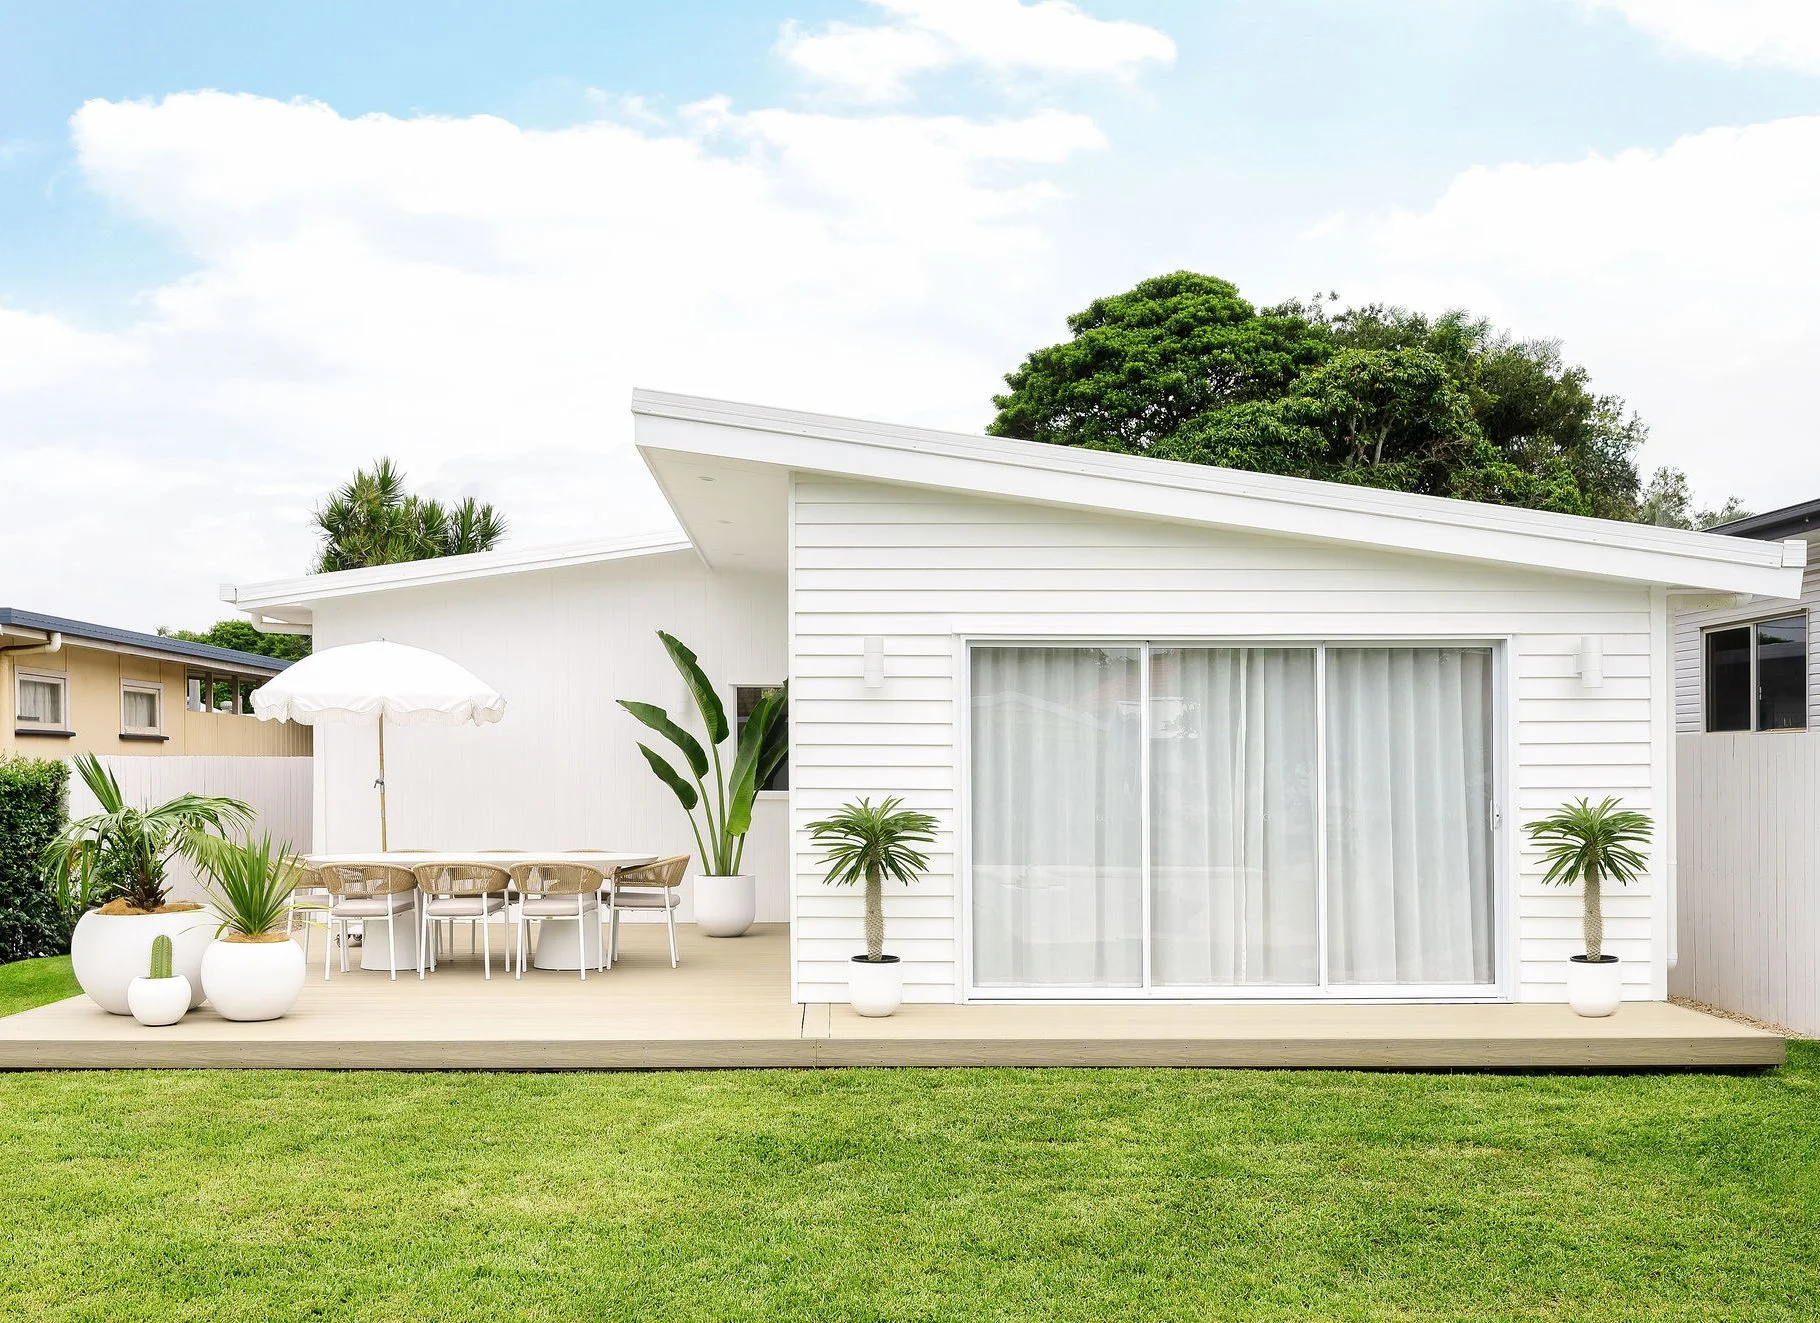
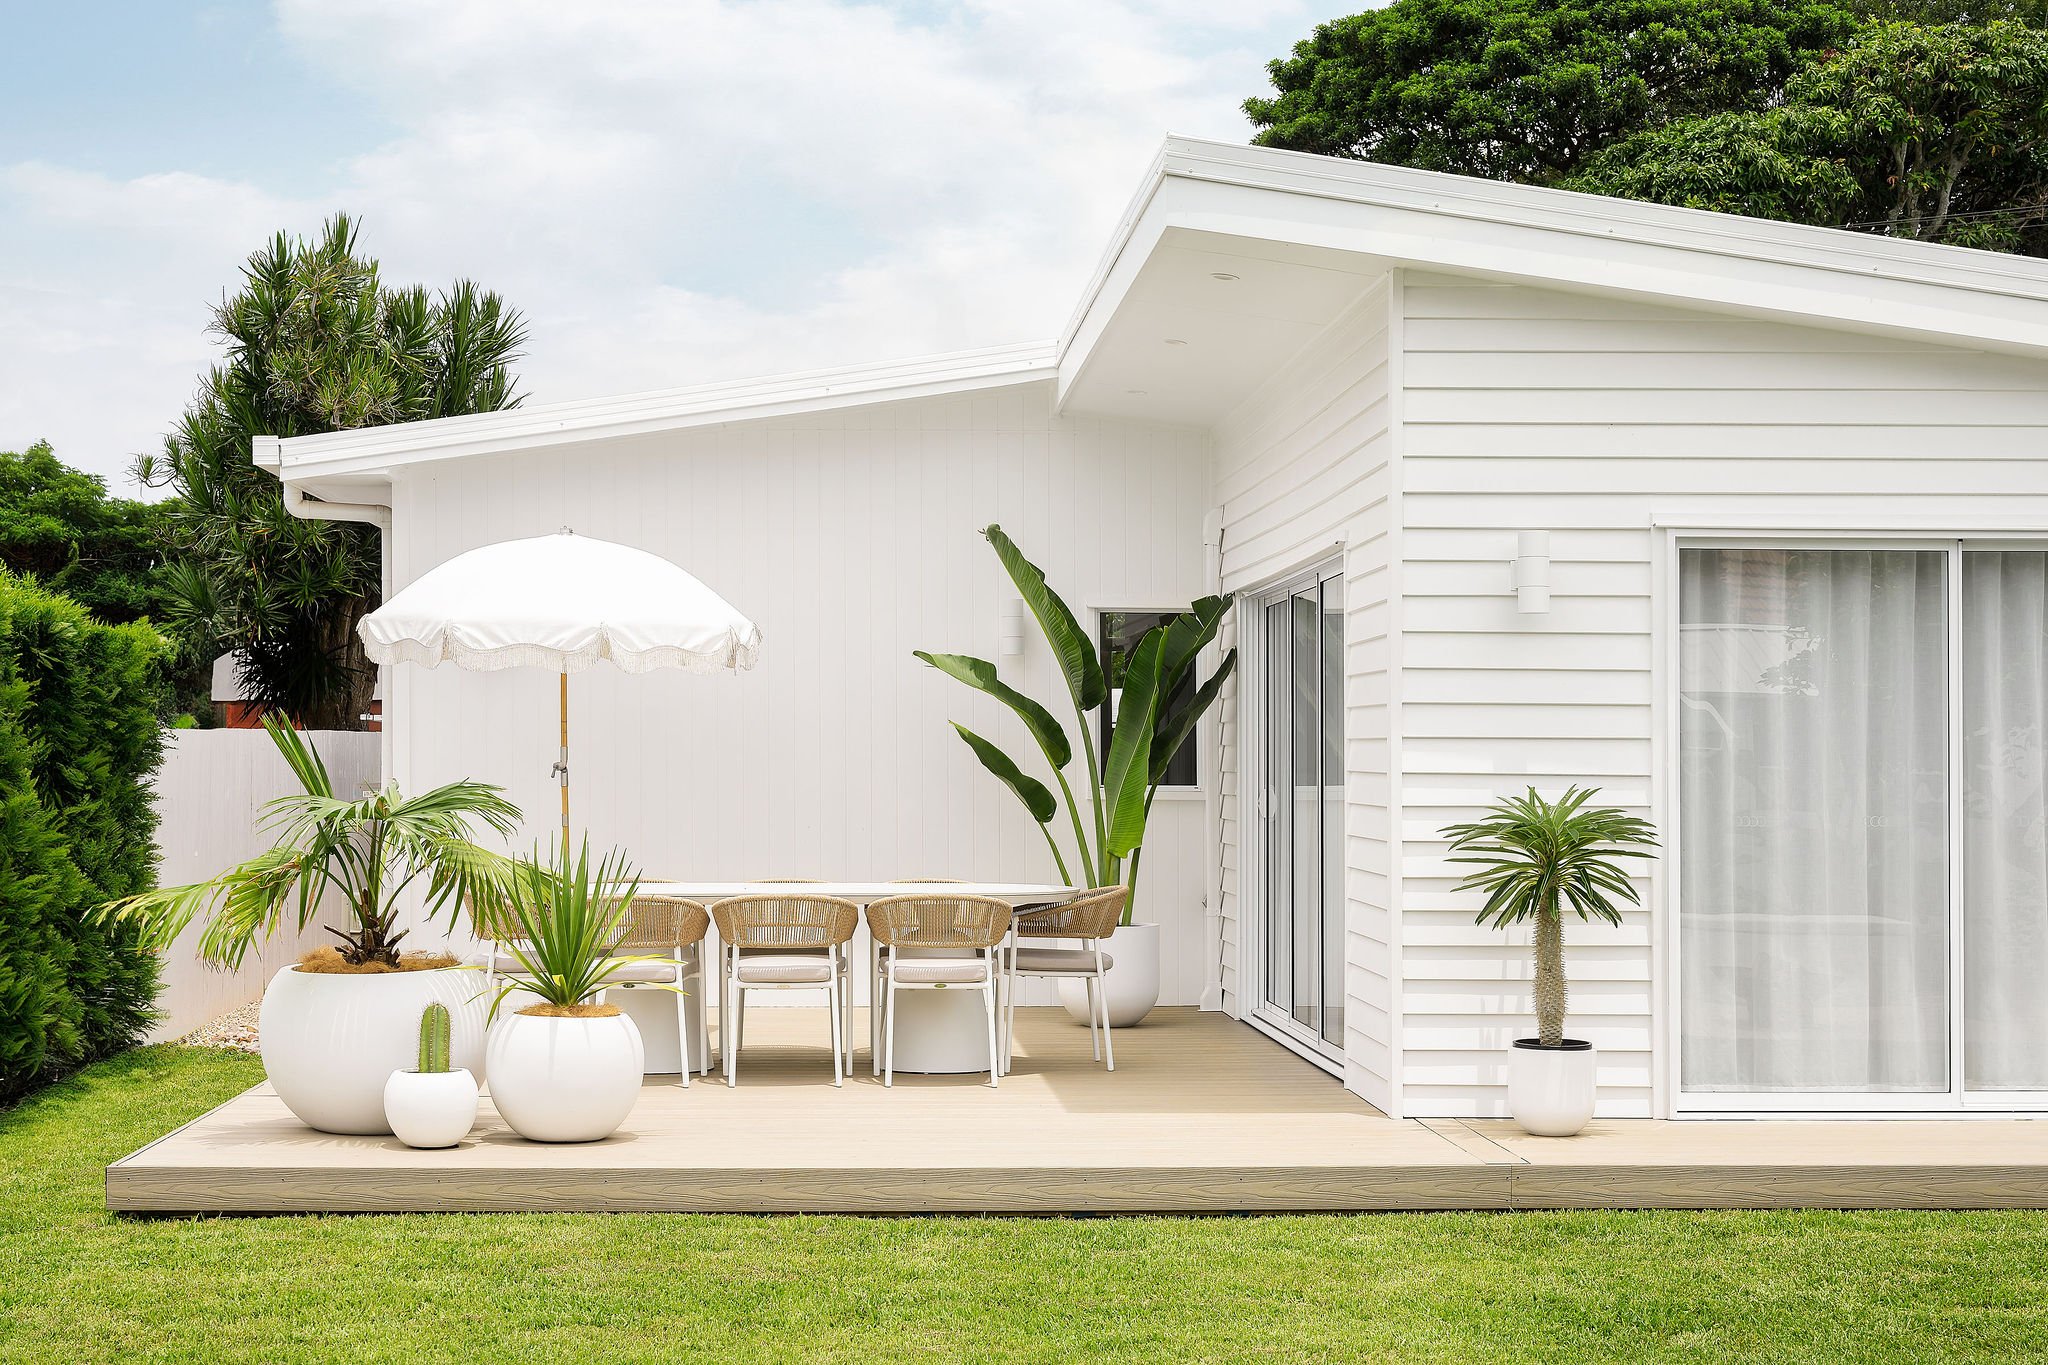
Then we had the back of house reclad in Linea™ Weatherboards by James Hardie and Axon™ Cladding by James Hardie. I chose to do two types of cladding out here to create visual interest. The VJ and weatherboards both play into that coastal feel complementing our 60s beach shack. I also wanted to future proof this space - the cement sheeting is made to last and will withstand the elements, unlike timber cladding. The walls and eaves are painted in Taubmans ‘Crisp White’ and it’s a nice, bright white. I just love how fresh the back looks now.
We also tackled the roof line. By extending the roof line on the right hand side up to meet the left side centre peak, we were able to create a skillion style overhang which looks so good. It just feels complete now - like it was meant to be. Without a doubt, our back of house is now completely unrecognisable!

DECKING
We used Ekodeck composite decking at our last house and I decided to use it again on our current home. This time though I went with a different colour - Backbeach. I love it - the colour looks like a blonde pine coloured timber in the sun. And in the shade it looks a bit more grey-ish toned in colour. I love the way it looks - it’s totally giving coastal vibes. But the best part is that it’s virtually zero-maintenance because it’s a composite product (no oiling or staining every year like a timber one). And whilst it does get hot in full sun, it’s not an issue for us as we usually just slip on shoes before heading outside anyways. The pros of no maintenance definitely outweigh the wearing of shoes issue, so it was a no brainer for us to use again.
If you’re unsure what colour to go for, you can order a free sample kit here.

‘Muffin Top’ pots from The Balcony Garden / Premium beach umbrella from Business & Pleasure Co.
POTS
My go to company for outdoor pots is The Balcony Garden. Their lightweight contemporary range of pots feature a whole array of different shapes and styles and come in three staple colours - white, charcoal and concrete grey. For Palm Springs vibes I’ve gone for the white pots in the ‘Muffin Top’ and ‘Straight Up’ styles.
FURNITURE
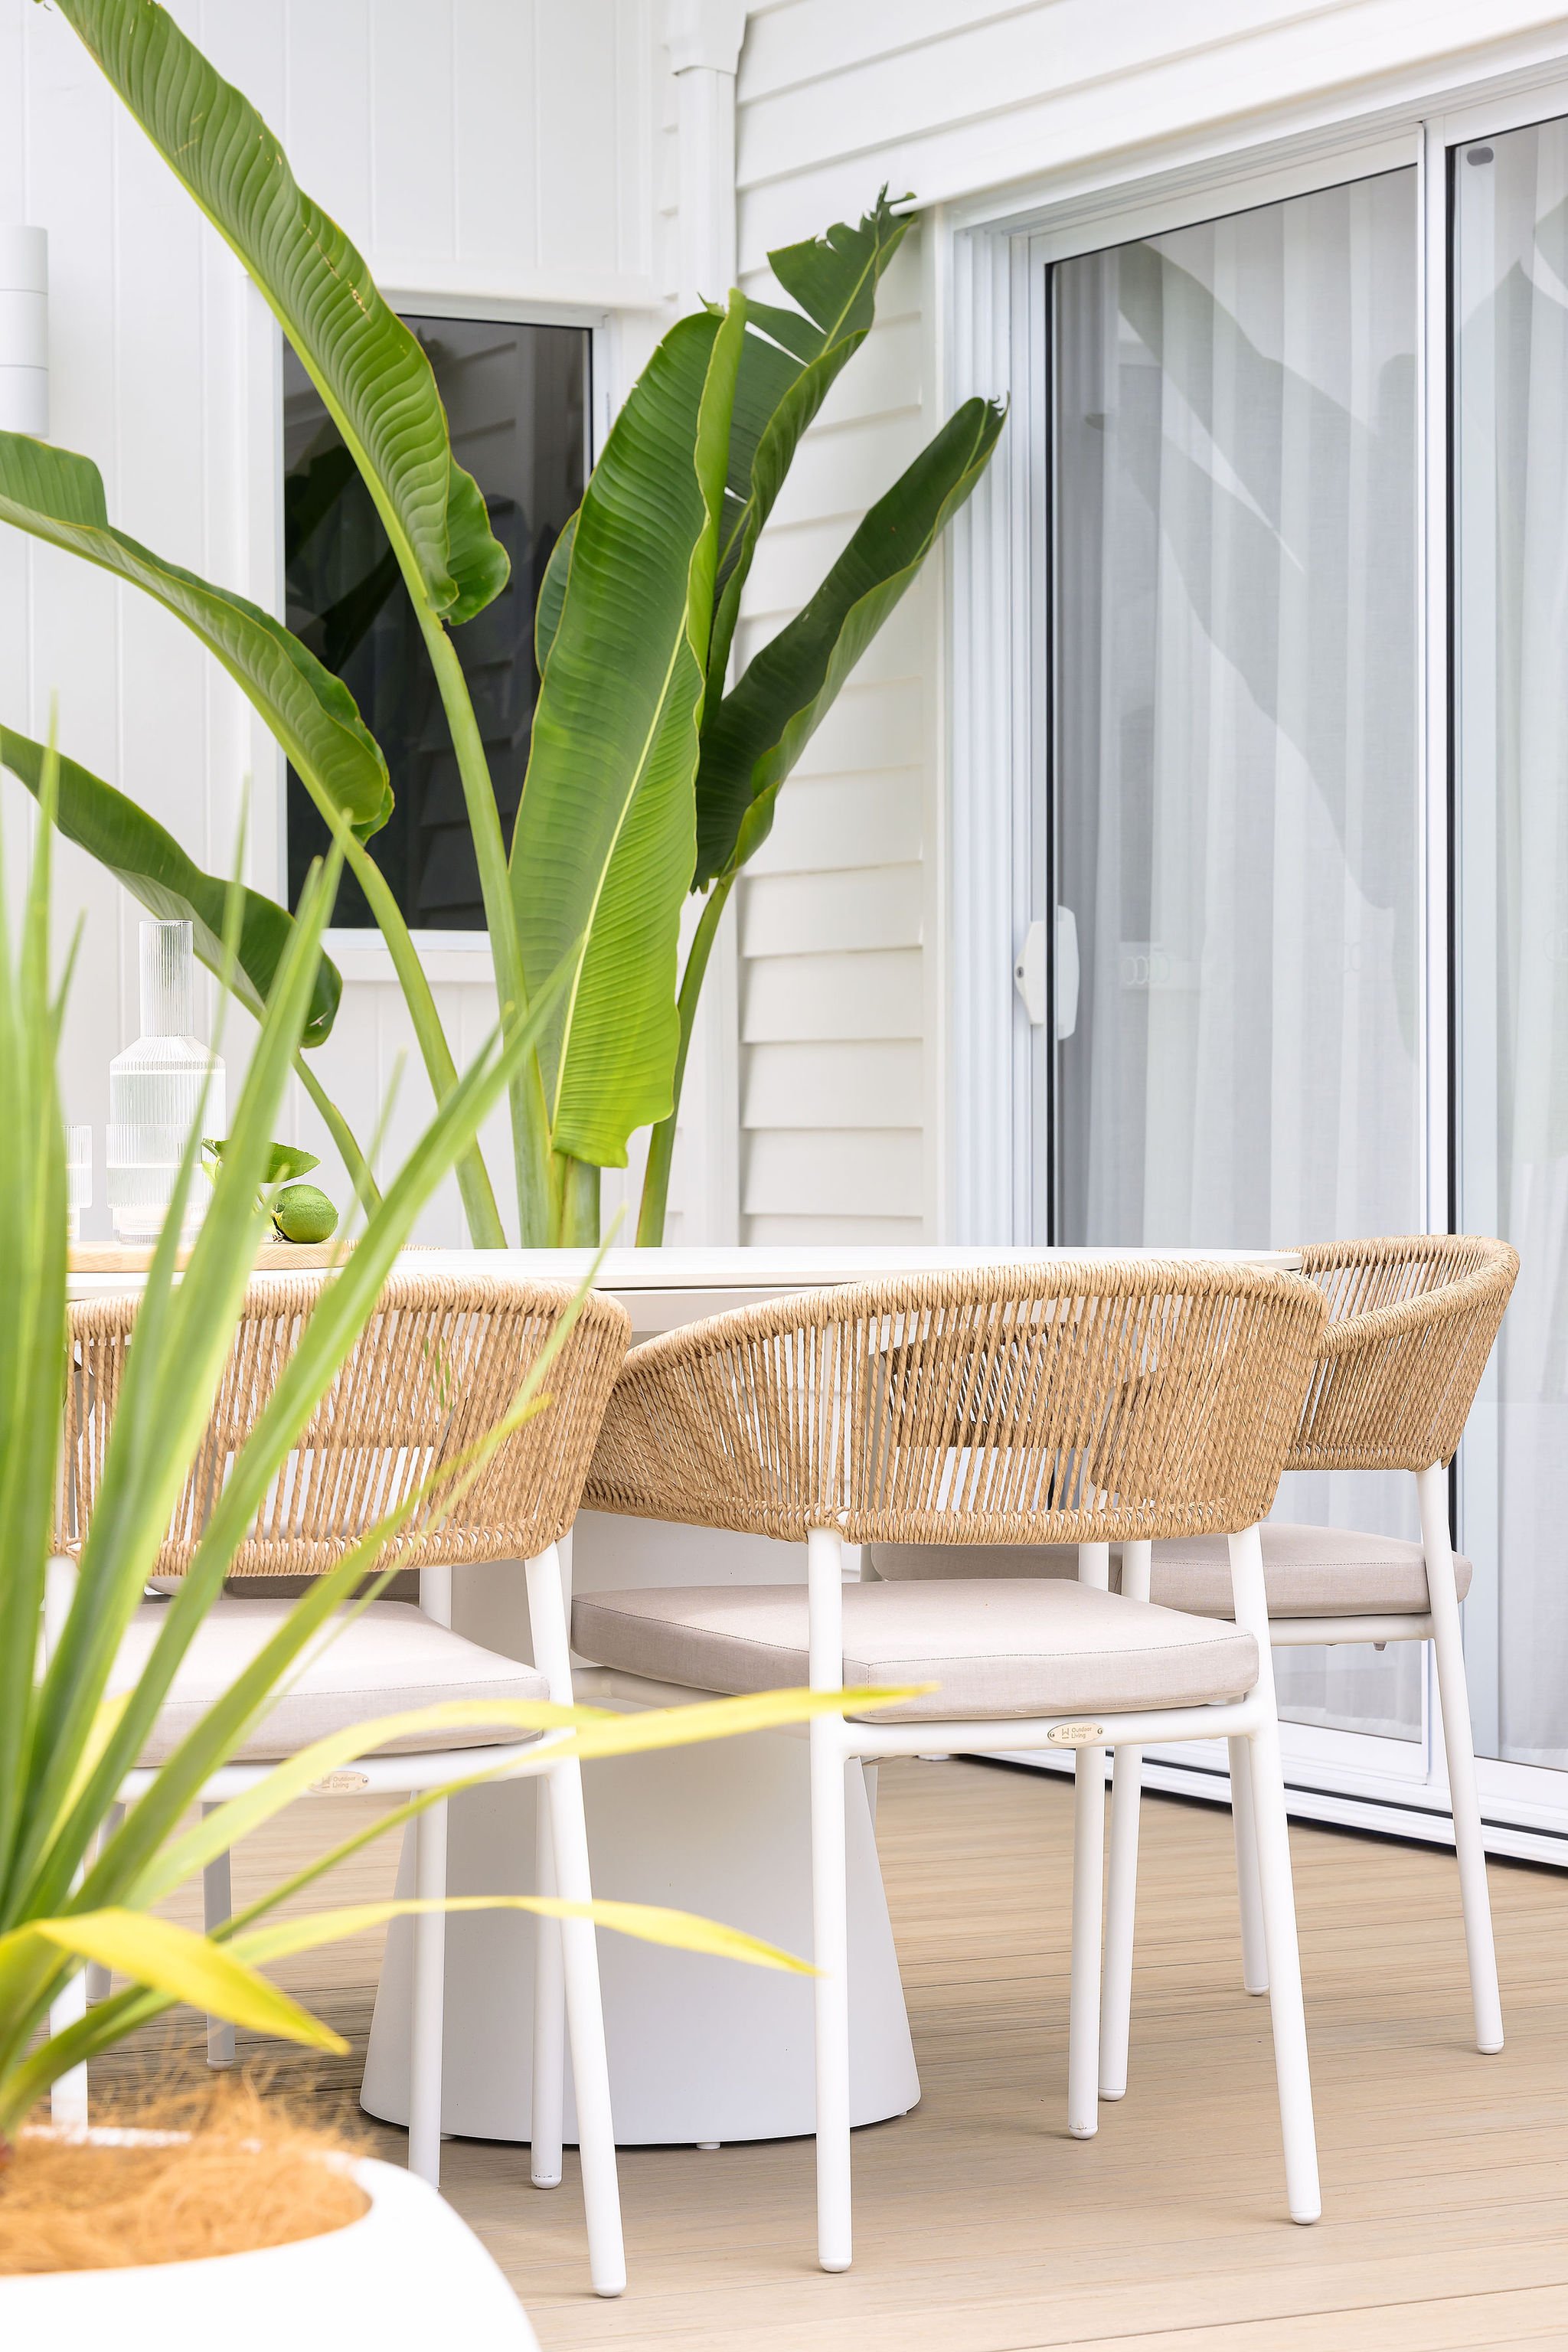
I wanted outdoor furniture to complement our colour scheme out here - white and tan tones were a must. Plus I was looking for something slightly different. When I came across this gorgeous ‘Ponte’ and ‘Marbella’ dining setting from Eden Living I knew I found the perfect outdoor table and chairs. The chunky column style legs and rounded ceramic marble-look table top make this outdoor table a stand-out from anything else I’ve seen. The ceramic top is an extremely strong and almost maintenance-free material. I find it super easy to wipe down and keep clean. As it’s suited to outdoors I’m totally fine about this not being undercover. I get so many compliments about this outdoor setting.
I also wanted to add that the delivery and assembly service was exceptional! I had two guys from Eden Living deliver the furniture, and not only did they assemble and set it all up, they also took away all of the packaging rubbish. They get a 10/10 from me for service and product.

‘Ponte’ and ‘Marbella’ dining setting from Eden Living


BACKYARD BEFORE
The picture above shows what the backyard looked like when we bought it. There were chain wire fences surrounding the property and it was literally the first thing we had replaced because there was zero privacy. Unfortunately both neighbours on each side of us refused to go halves in the cost (except for the lady behind us although that part of the fence was only quarter of a fence so it was cheap anyways), so this was a huge expense to us, we paid over $7,000! I know, insane and that was the cheapest quote. Anyways, we also had the land cleared there was a lot of overgrown vegetation and a tree which actually is classed as an invasive weed intertwined with the lemon tree and growing over into the fence and over the neighbour’s side. The only tree we kept was the lemon tree. As you can see it was growing over the top of the shed. Why someone would put a shed right up against a tree like this, I’ll never know! We painted our fence in Tint ‘So Fresh and So Clean’ exterior paint. It really has made such a massive difference to the way the backyard feels - so bright, light and airy. It ties in so well with our whole Palm Springs style garden too.
We got rid of the shed, and used the concrete slab it was sitting on for our firepit area. We had Mountaintop Masonry build our brick bench seat and then had it professionally rendered. You can see this progress in the ‘during’ shot below. It’s fun to look back on how things used to look and what they look like now. This space has certainly come a long way. Just look at that red dirt!


FIRE PIT AREA
Originally we had wanted to crazy pave the concrete slab, but with a dwindling budget at the end of the reno, we decided the best cost-effective method to spruce it up, would be paving paint. We have used the Ultra Pave paint from White Knight and had it tinted in Colorbond ‘Paper Bark’. It’s a soft beige colour which ties in with our ‘Kuddarna’ outdoor cushions from IKEA (sitting on top of the bench seat). We also added a grip additive from White Knight to the paint in the last coat and we haven’t had any slips!
We have the ‘Tuscon’ fire pit (80cm size) from Milkcan. We used it a few times when we moved in with my parents in Maleny (just temporarily whilst we were renovating), and it’s so good my parents want one too! We brought it back with us and it will be great to use it again when the weather cools down.

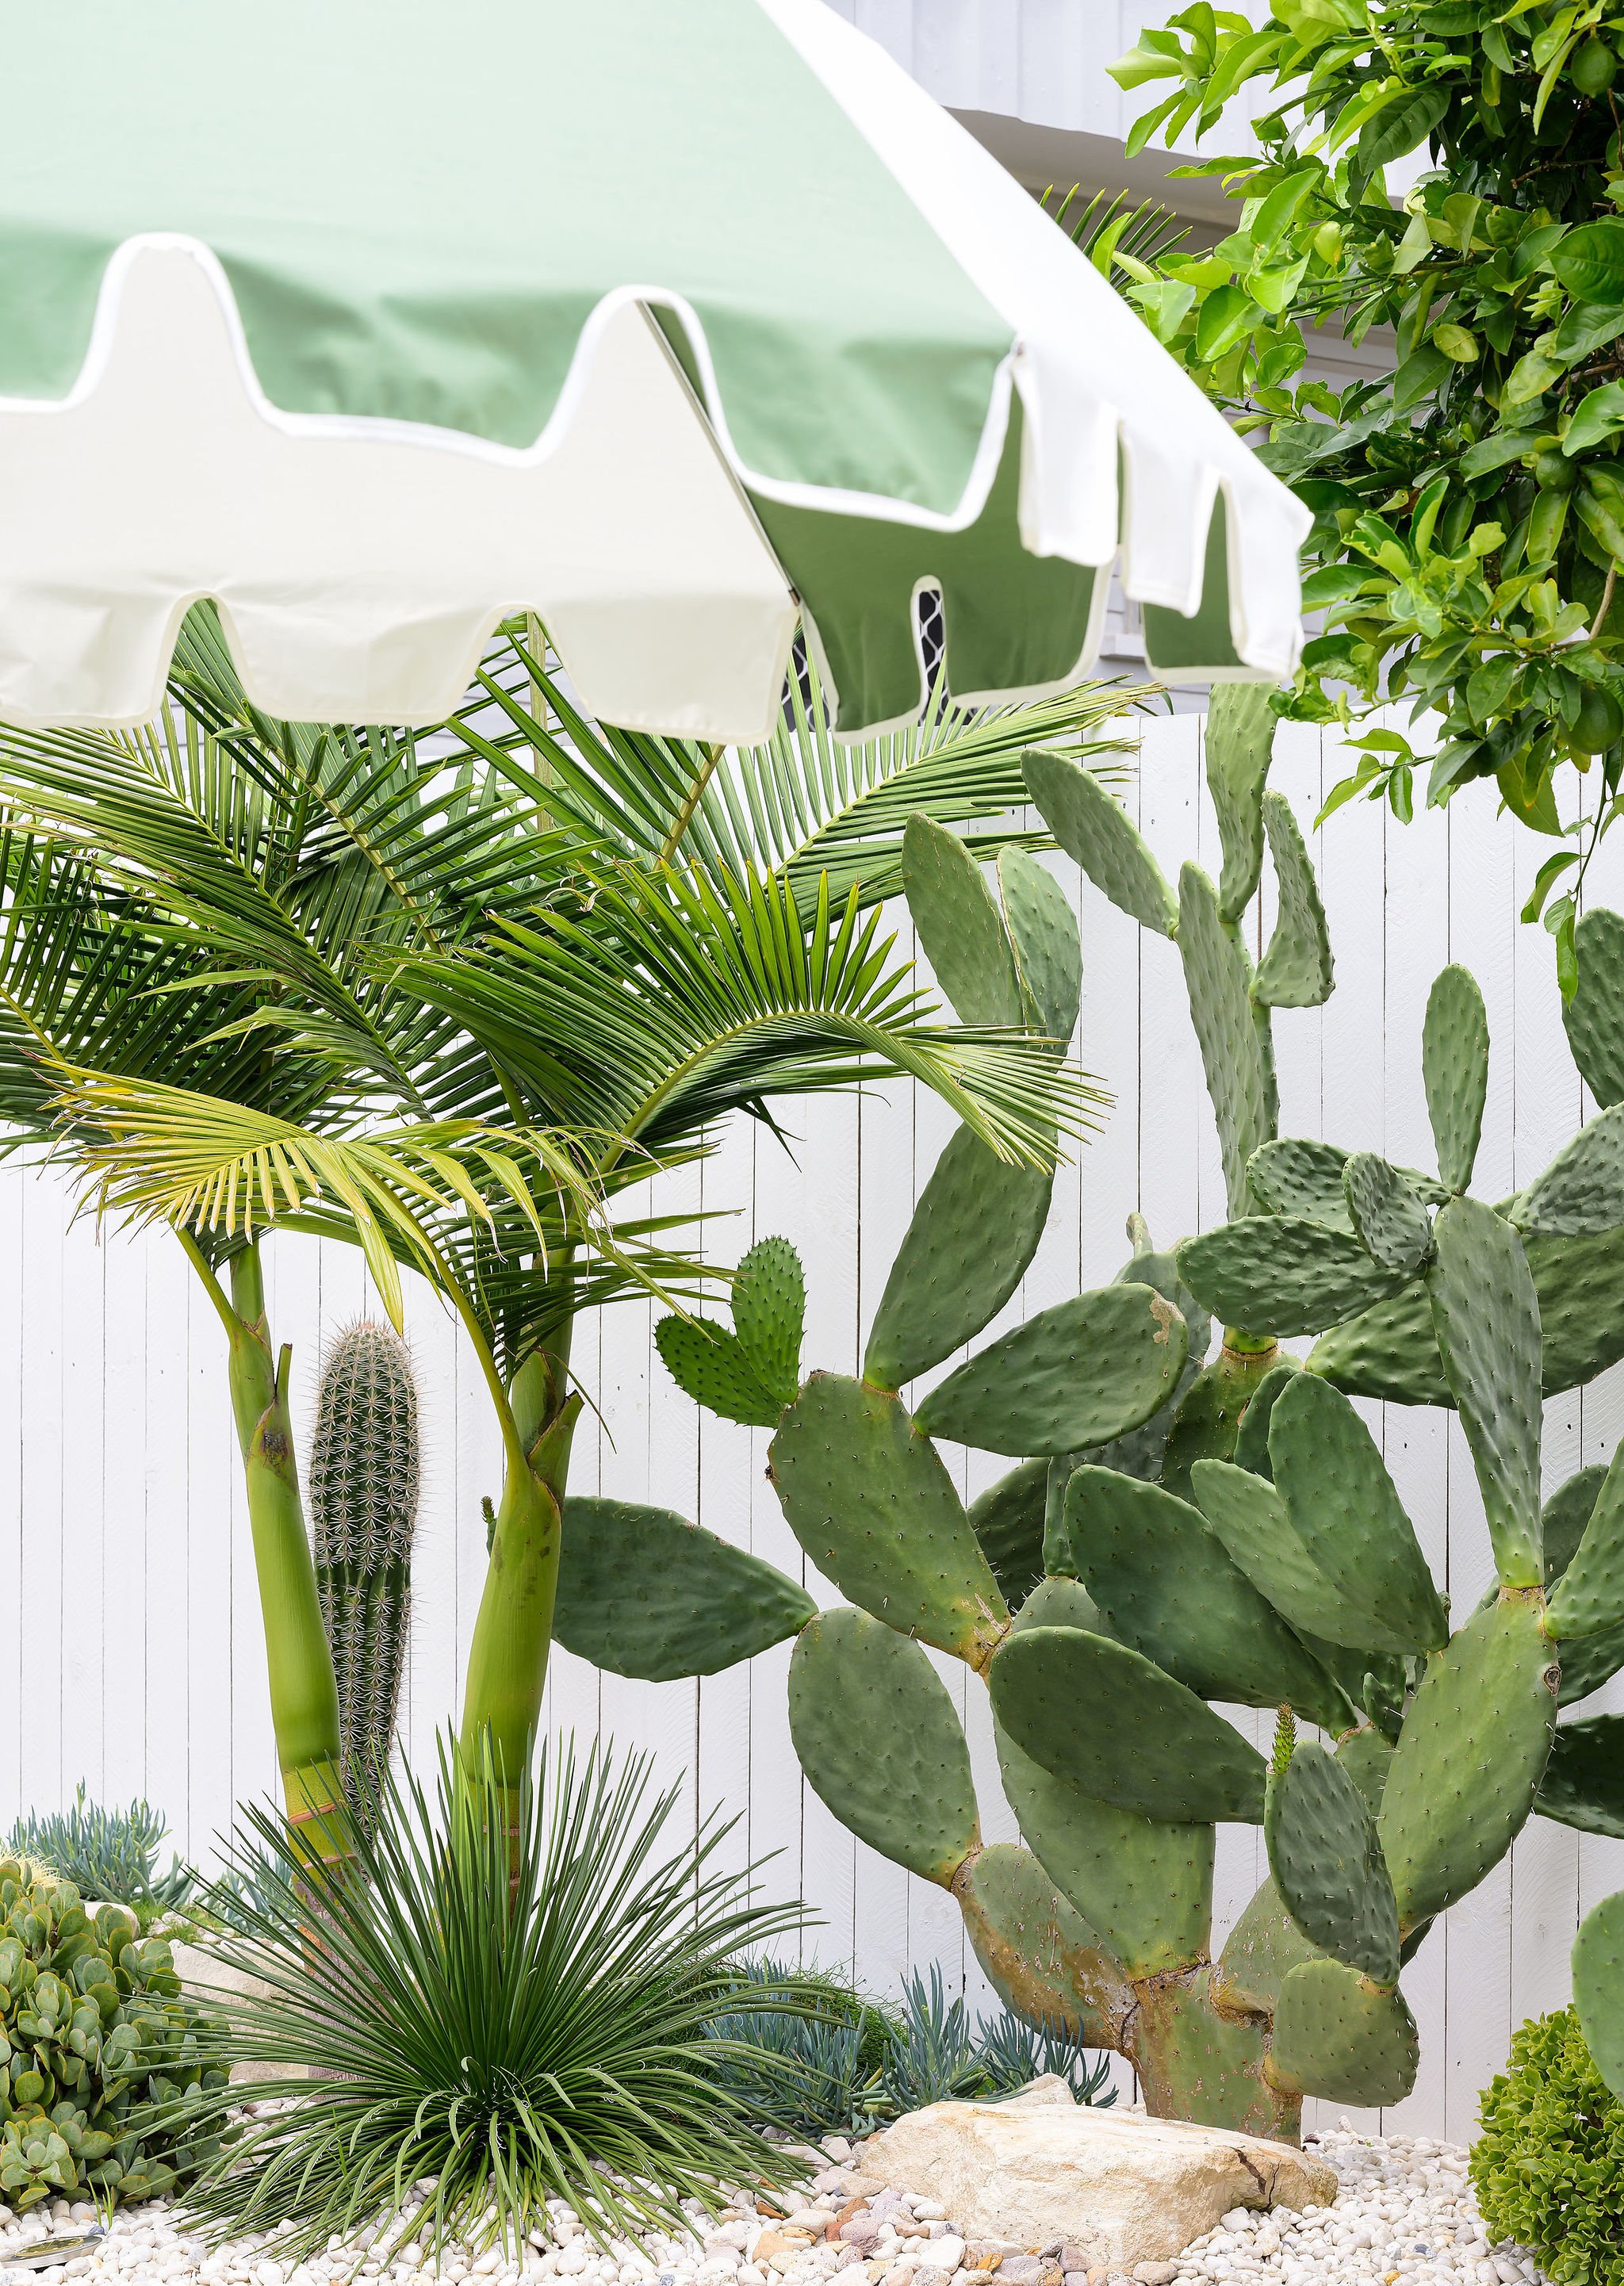
‘Tuscon’ fire pit (80cm size) from Milkcan / ‘The Weekend’ beach umbrella in sage from Basil Bangs


I have included a breakdown of our backyard budget below. Please keep in mind I have not included the cost of the decking or house cladding as our builder completed this for us as part of our overall home renovation (which was an all inclusive price and I’m unsure how much of that would have been for the deck + back cladding). Decking pricing does depend on your space too, so it’s always a good idea to get three quotes from carpenters/builders in your area. I would also like to point out that we hired someone locally to help us with some of the manual labour for our backyard reno (including excavation, skip hire to remove a layer of dirt and the old grass, concrete slab pour for the SheShed, laying the turf, digging holes for the mature trees, helping us get the trees in the ground and putting in all of the garden edging). I would also like to add that we could have saved a lot of money had we done some of these things ourselves. Things we did do: paint the fence, plan the landscaping design, select all of the plants and planting, along with bringing in all of the soil and pebbles for the gardens ourselves.
We are just so happy with how this space has grown and flourished over the past year. And whilst at some stages of the reno it seemed silly to do the backyard landscaping first, in my opinion the earlier you can landscape the better, as we do plan to re-sell this year and it’s better to have more mature looking gardens for the open homes.

